Introduction
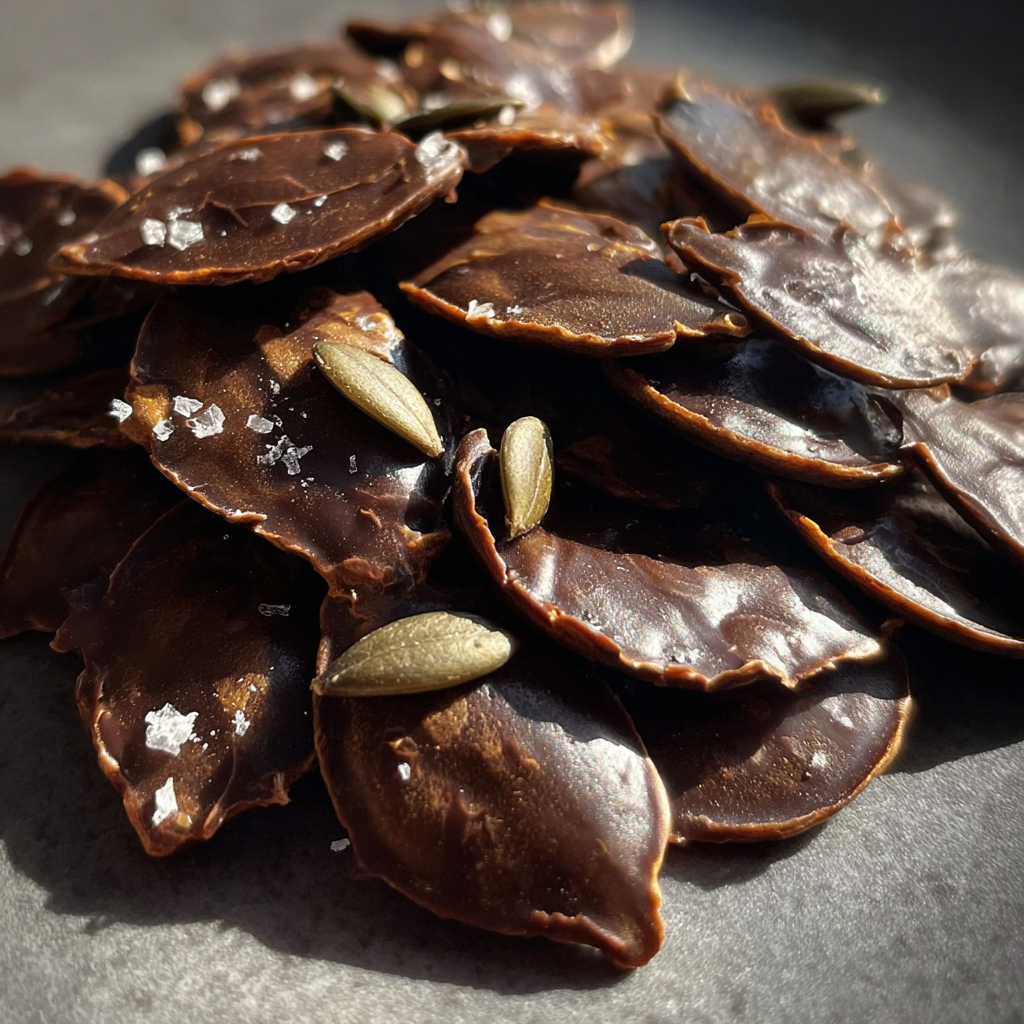
If you’re searching for a snack that combines health and indulgence, look no further than crunchy chocolate covered pumpkin seeds. These delightful treats provide a satisfying crunch while delivering a rich, chocolaty flavor that satisfies your sweet tooth without the guilt.
Packed with nutrients and healthy fats, pumpkin seeds are known for their various health benefits. Coating them in chocolate not only elevates their taste but also enhances their appeal as a snack that you can enjoy any time of day, whether you're at home or on the go.
Ingredients
- 1 cup raw pumpkin seeds
These provide a satisfying crunch and are rich in healthy fats, protein, and magnesium. Raw pumpkin seeds retain their natural flavor and nutrition, making them the perfect base for this recipe. - 2 tablespoons coconut oil
This oil acts as an emulsifier, helping to blend the chocolate smoothly while also adding a hint of tropical flavor. Coconut oil also keeps the chocolate coating from hardening too much, ensuring a delicious texture. - 1 cup dark chocolate chips
Dark chocolate adds a rich, intense flavor that complements the nutty taste of pumpkin seeds. It's also packed with antioxidants and less sugar than milk chocolate, making it a healthier choice. - 2 tablespoons maple syrup
Maple syrup adds natural sweetness and a hint of caramel flavor, balancing the bitterness of dark chocolate. It helps the chocolate adhere to the pumpkin seeds while also accentuating their flavor. - 1 teaspoon sea salt
A sprinkle of sea salt enhances the overall flavor by providing a contrast to the sweetness of the chocolate. It also highlights the nutty flavors of the pumpkin seeds, bringing the dish together.
Directions & Preparation
Step 1: Preheat your oven to 350°F (175°C).
Preheating the oven is essential for achieving evenly roasted pumpkin seeds. This initial step allows the seeds to crisp up nicely, enhancing their texture. Make sure the oven reaches the right temperature before placing the seeds inside.
Step 2: Spread the pumpkin seeds on a baking sheet in a single layer.
Spreading the seeds out ensures they're roasted evenly, resulting in a uniformly crunchy texture. Try to avoid overlapping them, as this can lead to uneven cooking. Bake them in a preheated oven for about 10-12 minutes until they turn golden brown.
Step 3: While the seeds are roasting, melt the dark chocolate and coconut oil together.
Melting the chocolate with coconut oil creates a smooth, pourable mixture. Use a double boiler or microwave for this step, stirring often. This ensures that the chocolate doesn’t seize or burn, which would ruin the coating.
Step 4: Once the seeds are roasted, let them cool slightly before combining with the chocolate.
Cooling the seeds prevents the chocolate from melting too fast and helps create a firm coating. Give them a few minutes to cool down; this way, you’ll achieve that sought-after crunch when you bite into the finished product.
Step 5: Pour the melted chocolate over the pumpkin seeds and stir to coat evenly.
Coating the seeds thoroughly ensures every bite is deliciously chocolaty. Use a spatula or wooden spoon to make sure all seeds are well covered, enhancing their flavor with the richness of chocolate.
Step 6: Spread the chocolate-coated seeds back onto a lined baking sheet.
Lining your baking sheet with parchment paper makes it easy to remove the finished product later. Evenly distribute the coated seeds on the sheet to allow them to cool and set properly, preventing clumping.
Step 7: Sprinkle sea salt over the seeds and allow them to cool completely.
Adding sea salt on top not only enhances the flavor but also adds a delightful contrast to the sweetness. Allowing the seeds to cool completely will help the chocolate harden, forming a delectable shell around each seed.
Step 8: Once cooled, break apart any clusters and store in an airtight container.
Breaking apart any clusters ensures that you can enjoy an even distribution of flavors in every bite. Storing in an airtight container keeps them fresh and crunchy, extending their shelf-life for snacking enjoyment.

Roasting Pumpkin Seeds to Perfection
Roasting pumpkin seeds is essential for achieving that signature crunch and enhancing their natural flavor. As the seeds roast, their oils are released, creating a nutty aroma and a crisp texture that sets the stage for the chocolate coating. Just be sure to monitor them closely, as they can go from perfectly toasted to burnt quite quickly.
Choosing the Right Chocolate for Your Seeds
The type of chocolate you select can significantly impact the overall taste of your crunchy snack. While dark chocolate is commonly used for its rich flavor and lower sugar content, you can experiment with milk or white chocolate if that’s your preference. Just remember that the flavor of the chocolate should complement the earthiness of the pumpkin seeds.
Elevating Flavors with Toppings
Once you’ve mastered the basic chocolate-covered pumpkin seeds, consider adding toppings to elevate their appeal. Chopped nuts, shredded coconut, or a drizzle of caramel can introduce new flavors and textures. These additions create an exciting and personalized twist on the classic recipe, making each batch uniquely yours.
FAQs
What can I do if the chocolate is too thick?
If your chocolate coating is too thick, consider adding a bit more coconut oil when melting. This will create a smoother consistency that coats the seeds more easily.
What if my pumpkin seeds aren’t crunchy enough?
If the seeds aren’t crunchy, they may need more roasting time or a higher temperature. Monitor them closely and extend the roasting period in one- to two-minute increments if necessary.
Can I use other seeds instead of pumpkin seeds?
Yes, you can substitute pumpkin seeds with sunflower seeds or even nuts like almonds or cashews. Just be mindful of the roasting time, as different seeds may require adjustments.
How can I make these more flavorful?
For an extra flavor boost, consider adding spices like cinnamon or cayenne pepper to the chocolate mixture. This adds warmth and complexity, enhancing the overall taste profile.
Is there a way to make these less sweet?
To reduce the sweetness, use dark chocolate with a higher cocoa content, and reduce the amount of maple syrup slightly. You can also omit the syrup if preferred.
What if I want to make a larger batch?
You can easily scale the recipe by using more pumpkin seeds, chocolate, and other ingredients proportionally. Just ensure you have enough space on your baking sheets.
Conclusion
Crunchy chocolate covered pumpkin seeds are more than just a treat; they're a fusion of health and indulgence sure to please anyone. With their easy preparation and satisfying crunch, they make for a perfect snack anytime, whether for movie night or an afternoon pick-me-up.
Experiment with flavors and toppings to create a snack that’s uniquely yours. Once you start making these delightful treats, you may find them becoming a staple in your home kitchen.
Recipe Card

Deliciously Crunchy Chocolate Covered Pumpkin Seeds
Ingredients
- 1 cup raw pumpkin seeds
- 1 cup dark chocolate chips
- 1 tablespoon coconut oil
- Pinch of sea salt
- Optional toppings e.g., crushed nuts, spices
Instructions
- Preheat your oven and prepare a baking sheet.
- Spread the raw pumpkin seeds on the baking sheet.
- Melt the dark chocolate and coconut oil.
- Combine the roasted pumpkin seeds with the melted chocolate.
- Add sea salt and any optional toppings.
- Spread the mixture onto the prepared baking sheet.
- Refrigerate until set.
- Break apart and serve.
Notes
Additional serving suggestions: pair with a crisp salad, garlic bread, or roasted seasonal vegetables for balance.
For make-ahead, prep components separately and assemble just before heating to preserve texture.
Taste and adjust with acid (lemon/vinegar) and salt right at the end to wake up flavors.


