Introduction
The holidays are a time for celebration, and what better way to spread cheer than with a batch of festive Santa Claus macarons? These delightful confections, with their delicate shells and creamy filling, are perfect for sharing with family and friends as you gather to celebrate the season.
Macarons might seem intimidating at first, but they are surprisingly forgiving when made with care. The charming Santa Claus design will impress your guests and bring a touch of magic to your holiday dessert table. Let’s dive into creating these tasty treats adorned with Santa’s jolly face.
Ingredients
- 120g almond flour
Almond flour gives macarons their signature chewy texture and rich flavor while allowing them to rise properly during baking. - 120g powdered sugar
Powdered sugar makes the shells smooth and helps achieve the delicate meringue structure needed for macarons. - 100g egg whites (about 3 large)
Egg whites are essential for meringue, providing stability and lift while contributing to the light texture of the cookies. - 30g granulated sugar
Granulated sugar is used to stabilize the meringue when whipped with egg whites, creating a glossy finish and maintaining structure. - Red gel food coloring
Adding red gel food coloring helps create vibrant Santa Claus features, enhancing both the appearance and festive spirit of the macarons. - 150g unsalted butter
Butter serves as the base for the filling, adding richness and creaminess that balances the sweetness of the macarons. - 200g powdered sugar (for filling)
Additional powdered sugar in the filling provides sweetness and helps achieve the desired creamy consistency. - 1 tsp vanilla extract
Vanilla extract infuses the filling with deep flavor, complementing the almond notes of the macarons. - Dark chocolate or edible black pearls
These are used for decorating Santa's eyes, adding an elegant touch that completes the festive look.
Directions & Preparation
Step 1: Prepare the macaron batter.
Start by sifting the almond flour and powdered sugar together into a bowl. This process is crucial to eliminate lumps and ensure a smooth batter. Combine the sifted ingredients thoroughly, as this blend forms the base of your macaron shells. Properly blending helps create a delicate texture that will rise beautifully during baking.
Step 2: Whip the egg whites.
In a separate clean bowl, whip the egg whites on medium speed until foamy. Gradually add the granulated sugar, increasing the speed to high, and whip until stiff peaks form. This step is vital for achieving the light, airy texture macarons are known for. Properly whipped egg whites create a stable meringue that traps air and allows the shells to rise.
Step 3: Add coloring and combine.
Once you have reached stiff peaks, gently fold in the sifted dry ingredients with a spatula. Add red gel food coloring gradually until you achieve your desired shade. Folding is a delicate process; over-mixing can lead to deflated macaron shells. Aim for a batter that slowly flows off the spatula in a ribbon-like manner.
Step 4: Pipe the macaron shells.
Transfer the macaron batter to a piping bag fitted with a round tip. Pipe small rounds onto parchment-lined baking sheets, leaving space between each for spreading. This step ensures even-sized shells with a uniform look. Tap the baking sheets firmly on the counter to release any trapped air bubbles, which helps achieve the perfect feet.
Step 5: Let the shells rest.
Allow the piped shells to rest at room temperature for 30 to 60 minutes until a skin forms on the surface. This crucial step prevents cracks during baking and allows for the iconic macaron 'foot' to develop. The shells should be dry to the touch before they go into the oven.
Step 6: Bake the macaron shells.
Preheat your oven to 150°C (300°F) and bake the macarons for 15-20 minutes. Keeping a close eye on them to avoid overbaking is essential, as moisture loss can lead to dry cookies. The cookies should be firm on the outside but soft on the inside, creating that perfect chewy texture. Rotate the baking sheets halfway through for even baking.
Step 7: Prepare the filling while shells cool.
While the macarons cool completely, prepare the filling by beating the unsalted butter until fluffy. Gradually add the powdered sugar and vanilla extract, mixing until smooth. This creates a rich and creamy filling that should have a spreadable consistency, enhancing the flavor of the macarons and providing the perfect texture contrast.
Step 8: Assemble the Santa Claus macarons.
Pair the cooled macaron shells with similar sizes, and pipe or spread a generous amount of filling onto the flat side of one shell. Top with the other shell, squeezing them together gently. This step ensures a good sandwich-like structure for your macarons, creating a delightful burst of flavor.
Step 9: Decorate the Santa Claus features.
Melt the dark chocolate and secure the edible pearls or chocolate chips to represent Santa's eyes after letting the macaron filling set slightly. You can also use additional filling or frosting for the cheeks. This is where your creativity shines, as you can personalize each macaron to bring a little holiday spirit to each treat.
Step 10: Let the macarons mature.
For the best flavor and texture, place the assembled macarons in the fridge for at least 24 hours. This period allows the flavors to meld and the shells to soften slightly with the filling. A well-rested macaron is a joy to eat, balancing chewiness with creamy filling!

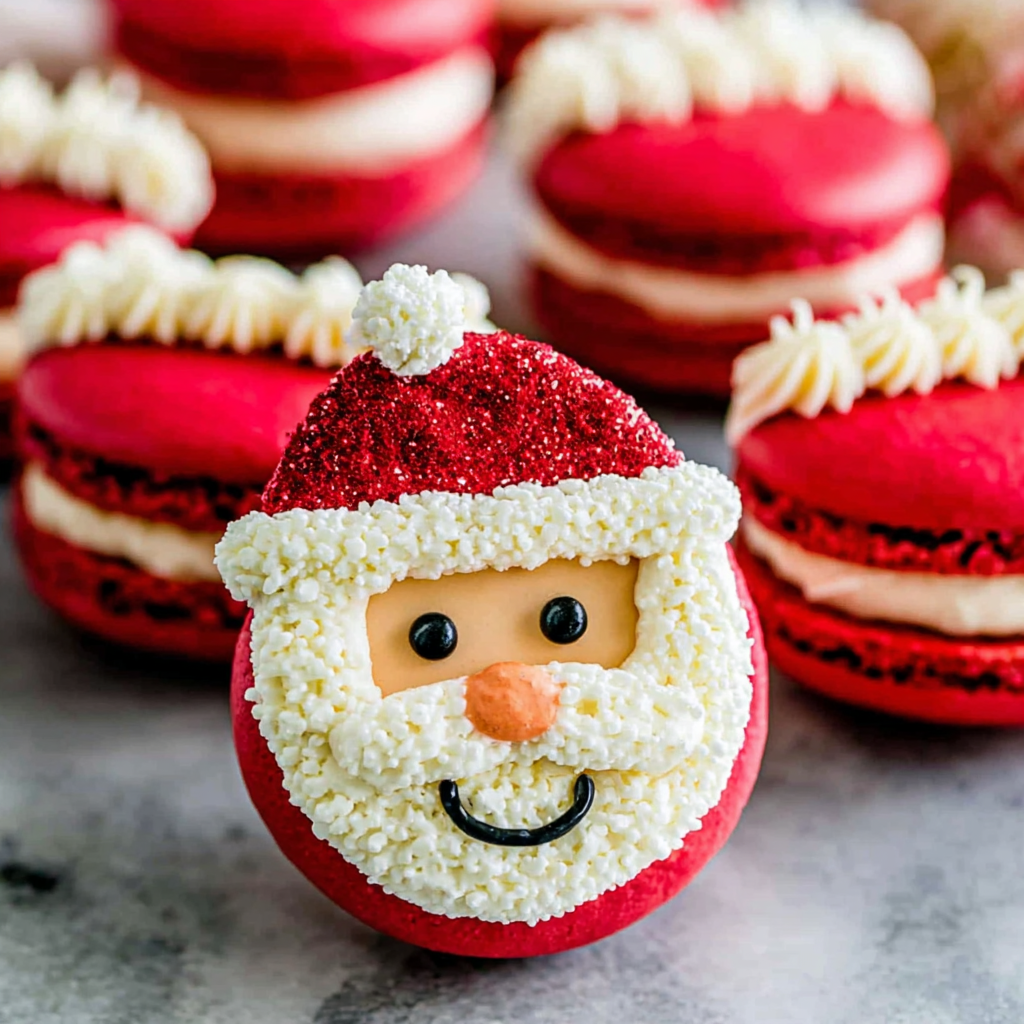
Creating Santa's Face with Macarons
Designing Santa Claus macarons not only enhances their festive appeal but also offers a fun decorating session. The combination of chocolate and edible decorations lets you unleash creativity, from rosy cheeks to classic red hats. Use almond slivers for the beard or whipped cream for an extra fluffy touch, transforming your macarons into delightful seasonal characters that bring smiles to both kids and adults.
Perfecting the Macaron Texture
Achieving the ideal macaron texture involves understanding the balance between whipping and folding techniques. The precision required in these steps helps create the perfect macarons with distinct 'feet' and soft interiors. An under-mixed batter can lead to cracked shells, while over-mixing can cause flat, lifeless macarons. With practice, you will master the nuances of mixing!
Festive Variations to Explore
While Santa Claus macarons are a delightful twist, experimenting with flavors and colors can add variety to your holiday baking. Consider filling them with peppermint chocolate ganache, or using green food coloring to create Christmas tree-themed macarons. Each unique variation offers an opportunity to celebrate the season with creativity, surprise, and joy for all who taste them.
FAQs
What if my macaron shells are hollow?
Hollow shells indicate overmixing the batter or not allowing enough resting time. Ensure you achieve the right consistency and rest the piped macarons adequately before baking.
How can I adjust the size of these macarons?
You can scale the recipe proportionally based on the number of macarons you wish to make. Just remember to maintain the same ratios of ingredients for the batter to achieve the right texture.
Why did my macarons crack on top?
Cracked tops are often caused by insufficient resting time or overheating in the oven. Ensure you let them rest until a skin forms and maintain a steady baking temperature.
What if my macaron filling is too sweet?
If your filling tastes too sweet, try adding a pinch of salt to balance the flavors, or incorporate a splash of lemon juice or vanilla extract to reduce the sweetness.
Can I use different colors of food coloring for variety?
Absolutely! You can use any gel food coloring to match your theme. Just ensure the colors are gel-based to avoid altering the batter's consistency.
How do I ensure my macarons have a shiny finish?
A shiny finish is achieved by ensuring your meringue is whipped to stiff peaks and trying not to overmix when combining in the dry ingredients. This maintains gloss in your shells.
Conclusion
Baking these Santa Claus macarons will fill your holiday kitchen with delight and creativity. With a bit of practice, you’ll impress your family and friends with both your macarons' enchanting appearance and scrumptious flavor.
Remember, the joy of holiday baking is not just in the treats, but also in the laughter and memories made along the way. Enjoy your festive time in the kitchen!
Recipe Card

Delightful Santa Claus Macarons for the Holidays
Ingredients
- 120 g almond flour
- 120 g powdered sugar
- 100 g egg whites about 3 large
- 30 g granulated sugar
- Red gel food coloring
- 150 g unsalted butter
- 200 g powdered sugar for filling
- 1 tsp vanilla extract
- Dark chocolate or edible black pearls
Instructions
- Prepare the macaron batter.
- Whip the egg whites.
- Add coloring and combine.
- Pipe the macaron shells.
- Let the shells rest.
- Bake the macaron shells.
- Prepare the filling while shells cool.
- Assemble the Santa Claus macarons.
- Decorate the Santa Claus features.
- Let the macarons mature.
Notes
Additional serving suggestions: pair with a crisp salad, garlic bread, or roasted seasonal vegetables for balance.
For make-ahead, prep components separately and assemble just before heating to preserve texture.
Taste and adjust with acid (lemon/vinegar) and salt right at the end to wake up flavors.


