Introduction
There’s an undeniable allure to a chocolate dessert, especially when it pairs with the tartness of fresh raspberries. This decadent dark chocolate raspberry cheesecake captures that balance beautifully, presenting a rich, creamy texture that melds indulgence with a touch of fruity brightness.
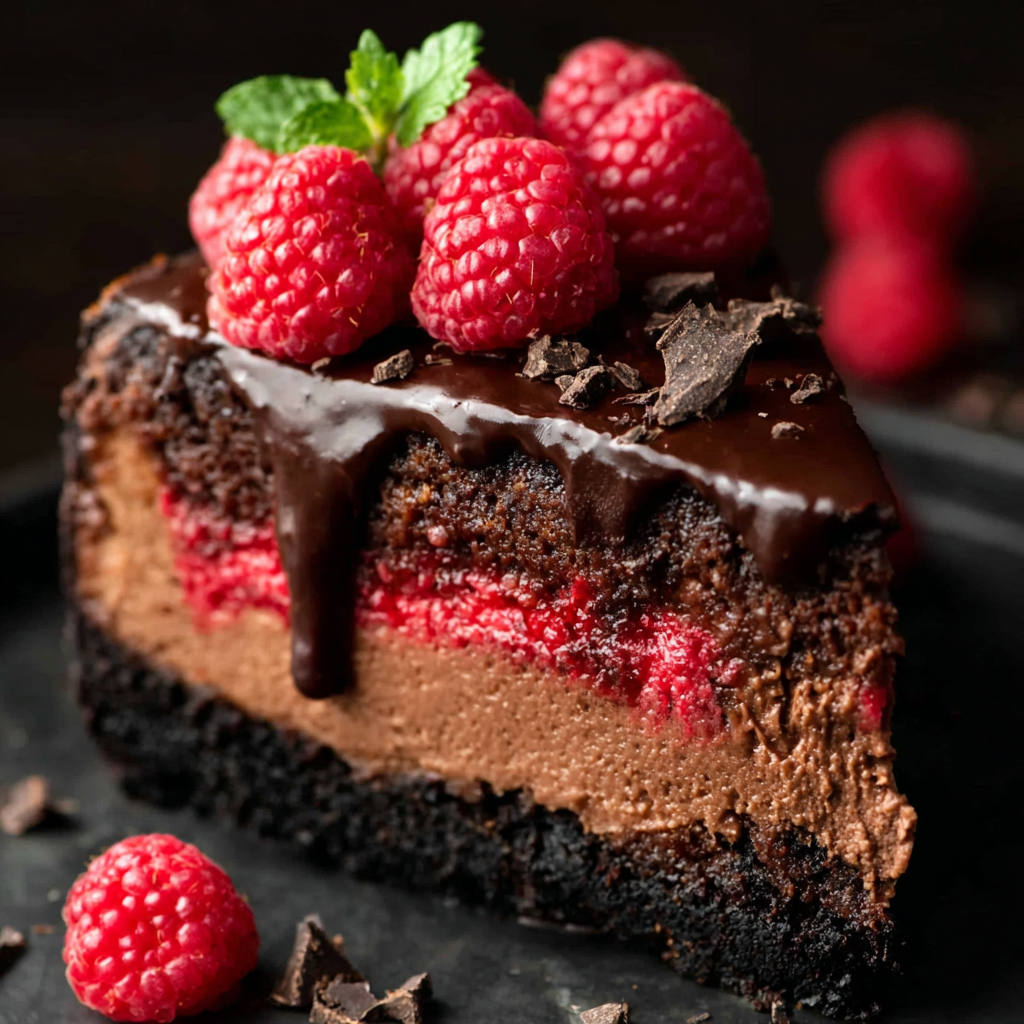
Imagine slicing into a velvety cheesecake adorned with a glossy raspberry glaze, revealing layers of dark chocolate filling that's rich yet not overly sweet. It's the perfect centerpiece for any celebration or a comforting treat on a quiet evening at home. This cheesecake not only pleases the palate but also delights the eye.
Ingredients
- 2 cups graham cracker crumbs
These crumbs serve as the foundation of the cheesecake crust, providing a crunchy texture and a slight sweetness that complements the rich filling. - 1/2 cup unsalted butter, melted
Butter binds the graham cracker crumbs together, contributing to the overall richness of the crust and helping create a stable base for the cheesecake. - 4 packages (8 oz each) cream cheese, softened
Cream cheese forms the core of the cheesecake filling, offering a smooth, creamy texture and a rich, tangy flavor that balances the sweetness of the chocolate and raspberries. - 1 cup granulated sugar
This sugar sweetens the filling without overshadowing the other flavors, ensuring a balanced dessert that is satisfyingly sweet. - 1 cup sour cream
Sour cream adds a tangy richness to the cheesecake, enhancing its creaminess and providing a slight acidity that cuts through the sweetness. - 1 cup dark chocolate, melted
Dark chocolate delivers a deep, intense flavor that forms the heart of this cheesecake, offering a luxurious experience with every bite. - 4 large eggs
Eggs act as a binding agent, providing structure and stability to the cheesecake while helping it rise during baking. - 1 teaspoon vanilla extract
Vanilla enhances the overall flavor profile, adding warmth and depth that complements the chocolate and raspberries. - 2 cups fresh raspberries
Fresh raspberries lend a vibrant, tart contrast to the rich chocolate, providing a burst of flavor that elevates the cheesecake. - 1/4 cup raspberry jam
Raspberry jam serves as a glaze that adds sweetness and creates a beautiful, glossy finish on top of the cheesecake, enhancing its visual appeal.
Directions & Preparation
Step 1: Preheat your oven to 325°F (160°C).
Preheating the oven is crucial for achieving an even cooking temperature. This ensures that the cheesecake bakes uniformly, helping it set properly without cracking.
Step 2: Prepare the crust by mixing graham cracker crumbs and melted butter.
Combining crumbs with butter evenly distributes the fat, ensuring the crust holds together once baked. It's important to mix until the crumbs are fully coated and resemble wet sand.
Step 3: Press the crust mixture into the bottom of a springform pan.
Pressing the crust firmly into the pan creates a solid base that won't crumble when served. Make sure to spread it evenly to achieve a uniform thickness throughout.
Step 4: Bake the crust for 10 minutes, then let it cool.
Baking the crust before adding the filling helps set the texture and adds an inviting crispness. Cooling is essential to prevent the filling from melting into a hot crust.
Step 5: In a large mixing bowl, beat the cream cheese and sugar until smooth.
Beating these ingredients together aerates the mixture, helping create a light texture in the filling. A smooth base ensures a creamy cheesecake that won't have lumps.
Step 6: Add the sour cream, melted dark chocolate, eggs, and vanilla extract; mix until blended.
Incorporating these ingredients uniformly is key to a silky filling. Be careful not to over-mix after adding the eggs, as excessive air can lead to cracks.
Step 7: Pour the filling into the cooled crust and smooth the top.
Pouring and spreading the filling creates an even surface. Ensuring an even thickness aids in proper baking, helping the cheesecake set uniformly.
Step 8: Bake the cheesecake for 55-60 minutes until the edges are set but the center still jiggles slightly.
This jiggle indicates that the cheesecake will continue to set as it cools, which is vital for the perfect texture. Pay attention to the edges; they should appear firm.
Step 9: Turn off the oven and crack the door, allowing the cheesecake to cool gradually for an hour.
Gradual cooling prevents temperature shock that can cause cracking. It’s important to allow the cheesecake to adjust slowly to avoid unsightly surface blemishes.
Step 10: Refrigerate the cheesecake for at least 4 hours or overnight.
Chilling allows the cheesecake to firm up, enhancing the flavors as they mingle and develop. Patience here leads to a beautifully textured and flavored dessert.
Step 11: Prepare the raspberry topping by heating raspberry jam and gently stirring in fresh raspberries.
This step creates a vibrant glaze while gently warming the jam enhances its pourable texture. Maintaining some intact raspberries adds visual appeal and freshness.
Step 12: Spread the raspberry topping over the chilled cheesecake before serving.
It’s best to add the glaze right before serving to maintain its freshness and prevent the crust from becoming soggy. The glossy finish makes the cheesecake visually stunning.

The Art of Layering Flavors
In this cheesecake, balancing the rich dark chocolate with tart raspberries creates a gourmet flavor profile that dances on the palate. The sharp burst of raspberry cuts through the dense, creamy filling, creating a symphony of taste that keeps each bite interesting. Every element complements the others, ensuring that the dessert isn’t just sweet but provides depth and complexity.
Tempering Chocolate Made Easy
Melting chocolate can be a sensitive task; using the right technique ensures a smooth, glossy chocolate without burning. Whether using the microwave or a double boiler, maintain a low, steady heat and stir frequently. Timing and attention are key here, as overheated chocolate becomes grainy and unusable. Properly tempered chocolate enriches the cheesecake's filling, creating an indulgent experience.
Glaze it Right: The Perfect Raspberry Topping
The raspberry glaze serves not just as decoration but also enhances the cheesecake’s flavor. When making this topping, ensure it's slightly warm but not hot to avoid affecting the cheesecake's texture. The gentle sweetness from the jam combined with fresh fruit pieces creates an inviting contrast to the rich filling, making each slice even more irresistible.
FAQs
What if my cheesecake cracks while baking?
Cracking often occurs from rapid temperature changes. To prevent this, crack the oven door during the cooling phase, allowing for a gradual drop in temperature.
How can I ensure my cheesecake is not too dense?
Overmixing can lead to a dense texture. Mix just until combined after adding the eggs, and make sure to incorporate air gently into the filling for a lighter cheesecake.
Can I adjust the sweetness to suit my taste?
Absolutely! You can reduce the amount of sugar in the filling or the glaze, but be cautious as it may alter the flavor balance with the chocolate.
What if I want a thicker cheesecake?
For a thicker cheesecake, you can modify the ratios by adding an additional package of cream cheese; however, this may alter the baking time slightly.
Is there a good alternative for the raspberry jam?
If you prefer, you can use a fruit puree or sauce that matches well with chocolate, such as cherry or strawberry, to achieve a similar glaze effect.
Why isn’t my cheesecake setting properly?
If the cheesecake doesn’t set, it may not have baked long enough. Ensure you check for that slight jiggle in the center while also considering the cooling time.
Conclusion
Creating a decadent dark chocolate raspberry cheesecake is not just about following a recipe but rather embracing the joy of baking. The resulting dessert is a true celebration of flavor, texture, and aesthetics, bringing a touch of elegance to any occasion.
Whether served as a showstopper at a gathering or a special at-home indulgence, this cheesecake promises to leave a lasting impression. Don't forget to savor each bite, as this dessert is a culmination of delightful contrasts and sumptuousness.
Recipe Card

Delicious Crumbl Caramel Apple Cookies Recipe
Ingredients
- 2 cups all-purpose flour
- 1 tsp baking soda
- 1/2 tsp salt
- 1 cup unsalted butter softened
- 1 cup brown sugar
- 1/2 cup granulated sugar
- 1 large egg
- 1 tsp vanilla extract
- 1 cup peeled and diced apples about 1 medium apple
- 1 cup caramel bits or chopped soft caramel candies
- 1 tsp ground cinnamon
Instructions
- Preheat your oven to 350°F (175°C).
- In a bowl, whisk together flour, baking soda, salt, and cinnamon.
- In a separate large bowl, cream the softened butter, brown sugar, and granulated sugar until light and fluffy.
- Add the egg and vanilla extract to the creamed mixture and mix until combined.
- Gradually add the dry ingredients to the wet mixture, mixing until just combined.
- Fold in the diced apples and caramel bits.
- Drop spoonfuls of dough onto a lined baking sheet, spacing them about 2 inches apart.
- Bake in preheated oven for 10-12 minutes, or until edges are lightly golden.
- Allow the cookies to cool on the baking sheet for 5 minutes before transferring them to a wire rack.
Notes
Additional serving suggestions: pair with a crisp salad, garlic bread, or roasted seasonal vegetables for balance.
For make-ahead, prep components separately and assemble just before heating to preserve texture.
Taste and adjust with acid (lemon/vinegar) and salt right at the end to wake up flavors.


