Introduction
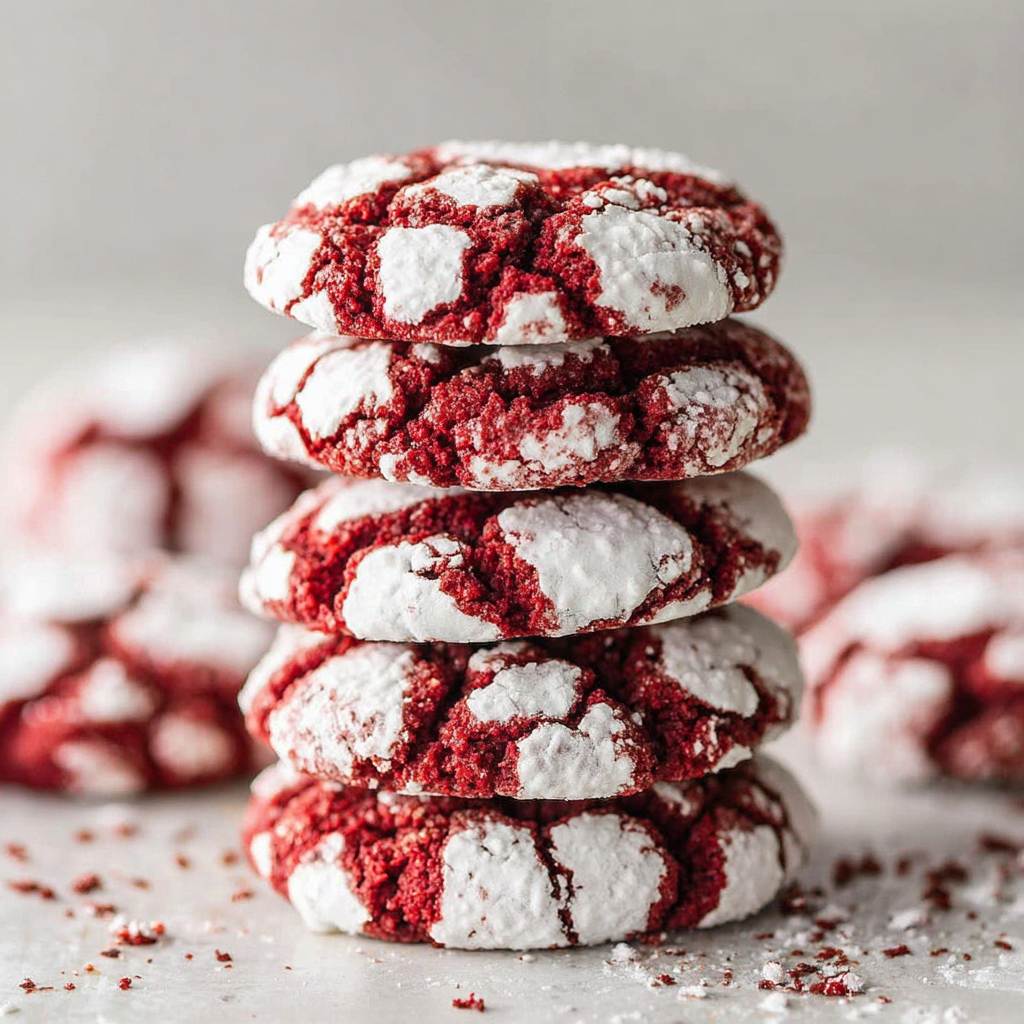
Red velvet crinkle cookies are a delightful twist on the classic red velvet cake. Their vibrant color, rich flavor, and perfectly chewy texture make them a favorite for festive gatherings or a cozy afternoon treat. With their powdered sugar coating, each cookie is a visual and taste sensation that beckons to be enjoyed.
These cookies, with their signature cracked top, offer not only a feast for the eyes but also a blend of cocoa undertones and subtle vanilla. The contrasting textures of the crispy exterior and soft, moist interior come together to create a cookie experience that is both familiar and novel. Baking them fills your kitchen with an irresistible aroma that’s hard to resist.
Ingredients
- 2 1/2 cups all-purpose flour
All-purpose flour provides the structure needed for the cookies, ensuring they hold their shape while delivering a tender bite. - 1 tablespoon cocoa powder
Cocoa powder adds a subtle chocolate flavor, enhancing the richness of the red velvet without overpowering the signature taste. - 1 teaspoon baking powder
Baking powder acts as a leavening agent, creating a light and fluffy texture. It helps the cookies rise and develop that sought-after crinkle. - 1/2 teaspoon baking soda
Baking soda contributes to the cookies' spread and helps achieve a soft, chewy center, balancing the density of the other ingredients. - 1/2 teaspoon salt
Salt enhances the sweetness of the cookies and highlights the flavors, creating a more pronounced taste profile. - 1 cup granulated sugar
Granulated sugar adds sweetness and moisture. It plays a crucial role in caramelization, contributing to the cookies' beautiful color and flavor. - 1/2 cup unsalted butter, softened
Butter provides richness and flavor, while also helping achieve a tender crumb texture. Its creaming with sugar is essential for incorporating air. - 2 large eggs
Eggs bind the ingredients together, adding moisture and richness. The protein in eggs helps the cookies set as they bake. - 1 teaspoon vanilla extract
Vanilla extract enhances the overall flavor profile, adding depth that complements the chocolate and sweetness of the cookies. - 1 tablespoon red food coloring
Food coloring gives the cookies their signature red hue. It’s essential for creating the eye-catching appearance that defines red velvet treats. - Powdered sugar for dusting
Powdered sugar creates the signature crinkle effect on the surface of the cookies. It adds a touch of sweetness and enhances visual appeal.
Directions & Preparation
Step 1: Preheat your oven to 350°F (175°C) and line your baking sheets with parchment paper.
Preheating the oven ensures that the cookies start baking immediately when placed inside. Lining the baking sheets with parchment paper prevents sticking and promotes even baking.
Step 2: In a medium bowl, whisk together the flour, cocoa powder, baking powder, baking soda, and salt.
Sifting these dry ingredients helps to remove lumps and ensures uniform distribution, which is crucial for the cookies to rise evenly and have a consistent texture.
Step 3: In a large bowl, cream together the softened butter and granulated sugar until light and fluffy, about 2-3 minutes.
Creaming butter and sugar incorporates air, leading to a lighter texture. This step is vital for achieving the right cookie consistency; continue until the mixture appears pale and airy.
Step 4: Add the eggs, red food coloring, and vanilla extract to the butter mixture, mixing well until fully combined.
This step not only incorporates moisture but also allows the food coloring to integrate fully, giving each cookie a uniform red color. Make sure to mix until no streaks remain.
Step 5: Gradually add the dry ingredients to the wet ingredients, mixing until combined. Do not overmix.
Overmixing can lead to tough cookies by developing gluten in the flour. Mix until just combined to maintain a tender texture; some flour streaks are okay.
Step 6: Cover the dough and refrigerate for at least 30 minutes, or until firm enough to handle.
Chilling the dough solidifies the fats, helping the cookies maintain their shape while baking. This step also allows flavors to meld, enriching the overall taste.
Step 7: Scoop tablespoons of dough and roll them into balls. Then, coat each ball with powdered sugar before placing them on the prepared baking sheets.
Coating in powdered sugar not only creates the signature crinkle effect but helps control spread during baking. Aim for a well-coated ball for the best visual appeal.
Step 8: Bake in the preheated oven for 10-12 minutes, or until the edges are set but the centers are slightly soft.
Baking until the edges are firm prevents overcooking and maintains a chewy center. Watch closely, as cookies can quickly turn from underbaked to overbaked.
Step 9: Let the cookies cool on the baking sheets for 5 minutes before transferring them to wire racks to cool completely.
Cooling on the baking sheets allows cookies to firm up and makes it easier to transfer them without breaking. Ensure they cool fully to perfect the texture.

Why Chilling the Dough Matters
Chilling the dough is an essential step that significantly influences the texture and shape of your cookies. By allowing the fat within the dough to firm up, it restricts spread during baking, resulting in cookies that are taller and resemble traditional crinkle forms. Additionally, this resting period allows the flavors to meld, enhancing the overall taste of your cookies, making each bite richer and more satisfying.
The Role of Red Food Coloring
While red food coloring may appear to be purely decorative, it plays a vital role in defining the character of red velvet crinkle cookies. This vibrant hue not only enhances the visual appeal, making them stand out in any dessert spread, but it also signifies the unique flavor profile associated with red velvet. Avoiding excess can help a more natural color emerge, showcasing the cocoa and vinegar nuances characteristic of red velvet.
Perfecting the Crinkle Effect
Achieving the iconic cracked surface of crinkle cookies often relies on proper technique during mixing and baking. The combination of baking powder and soda creates lift, leading to that sought-after crinkle effect as the surface dries out during baking. Coating the dough in powdered sugar before baking results in delightful contrast, highlighting the deep red of the cookie while providing a sweet touch that complements the chocolate flavor beautifully.
FAQs
What if my cookie dough is too thick?
If your cookie dough feels excessively thick, it may be due to too much flour. You can add a tablespoon of milk to loosen the dough without compromising texture.
How can I enhance the chocolate flavor?
For a more pronounced chocolate flavor, consider increasing the cocoa powder to 2 tablespoons. This will deepen the flavor profile while maintaining the signature red hue.
What causes my cookies to spread too much?
Cookies spreading excessively can result from warm dough or insufficient chilling. Ensure the dough is adequately chilled before baking, and also check your oven temperature.
Can I replace granulated sugar with brown sugar?
While you can substitute brown sugar, it will change the flavor and texture slightly, making them chewier and adding a deeper caramel note. Adjust accordingly for sweetness.
What if my cookies turn out too dry?
Cookies can become dry if overbaked or contain too much flour. Monitor your baking time closely and measure your flour correctly, using a scale when possible.
Why are my cookies lacking flavor?
If your cookies taste bland, consider adding a pinch of espresso powder or increasing the vanilla extract. These enhancements can elevate the overall flavor.
Conclusion
Red velvet crinkle cookies are more than just a treat; they’re an invitation to share and indulge in a classic flavor together. Their visual appeal and delightful taste make them the perfect addition to any dessert table or a simple afternoon snack. Embrace the art of cookie baking—each batch is a chance to refine your skills and impress your loved ones.
As you enjoy each bite, let the rich flavors and textures transport you to a cozy moment where warmth and sweetness unite. Don’t hesitate to experiment or share your results with family and friends. These cookies are sure to become a beloved staple in your baking repertoire.
Recipe Card

Irresistible Red Velvet Crinkle Cookies for All Occasions
Ingredients
- 2 1/2 cups all-purpose flour
- 1 tablespoon cocoa powder
- 1 teaspoon baking powder
- 1/2 teaspoon baking soda
- 1/2 teaspoon salt
- 1 cup granulated sugar
- 1/2 cup unsalted butter softened
- 2 large eggs
- 1 teaspoon vanilla extract
- 1 tablespoon red food coloring
- Powdered sugar for dusting
Instructions
- Preheat your oven to 350°F (175°C) and line your baking sheets with parchment paper.
- In a medium bowl, whisk together the flour, cocoa powder, baking powder, baking soda, and salt.
- In a large bowl, cream together the softened butter and granulated sugar until light and fluffy, about 2-3 minutes.
- Add the eggs, red food coloring, and vanilla extract to the butter mixture, mixing well until fully combined.
- Gradually add the dry ingredients to the wet ingredients, mixing until combined. Do not overmix.
- Cover the dough and refrigerate for at least 30 minutes, or until firm enough to handle.
- Scoop tablespoons of dough and roll them into balls. Then, coat each ball with powdered sugar before placing them on the prepared baking sheets.
- Bake in the preheated oven for 10-12 minutes, or until the edges are set but the centers are slightly soft.
- Let the cookies cool on the baking sheets for 5 minutes before transferring them to wire racks to cool completely.
Notes
Additional serving suggestions: pair with a crisp salad, garlic bread, or roasted seasonal vegetables for balance.
For make-ahead, prep components separately and assemble just before heating to preserve texture.
Taste and adjust with acid (lemon/vinegar) and salt right at the end to wake up flavors.


