Introduction
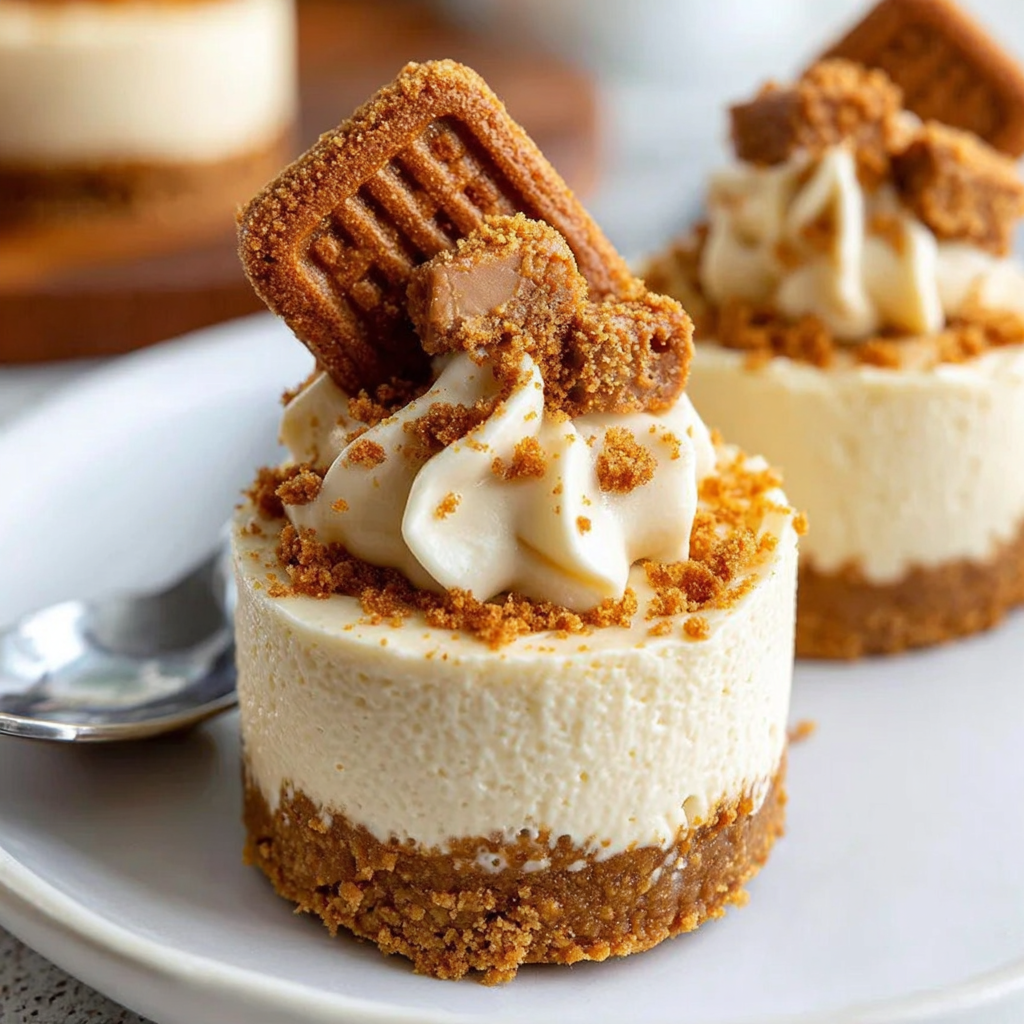
If you're a fan of creamy desserts with a hint of spice, these No Bake Mini Biscoff Cheesecakes might just become your new favorite treat. The combination of velvety cream cheese and the rich flavors of Biscoff cookies create an indulgent experience that’s hard to resist.
Perfect for gatherings, these cheesecakes are simple to make and require no oven time, making them an ideal choice for warm weather or busy days. Plus, their mini size means you can enjoy a guilt-free treat without overindulging.
These delightful bites also allow for creativity in presentation and garnishes, so you can impress your family and friends with minimal effort.
Ingredients
- 200g Biscoff cookies
These cookies serve as both the base and flavor profile for the cheesecake. Their buttery, spiced texture perfectly complements the creamy filling. - 75g unsalted butter
Butter is used to bind the crushed cookies into a cohesive crust while adding richness. It enhances the flavor and helps the crust hold its shape. - 300g cream cheese
Cream cheese acts as the main ingredient in the filling, providing a rich, creamy texture. It also balances the sweetness of the dessert. - 100g powdered sugar
Powdered sugar sweetens the filling without grittiness, allowing for a smooth consistency. It also blends well with the cream cheese. - 1 teaspoon vanilla extract
Vanilla extract adds depth to the flavor profile, enhancing the overall taste of the cheesecake. - 150ml heavy cream
Whipping cream adds lightness and airy texture to the cheesecake filling, resulting in a smooth and creamy mouthfeel. - Biscoff spread for topping
This spread provides a luxurious finishing touch, accentuating the Biscoff flavor and adding a glossy appearance.
Directions & Preparation
Step 1: Prepare the Biscoff crust.
Start by crushing the Biscoff cookies into fine crumbs. This can be done using a food processor or placing them in a bag and crushing with a rolling pin. The goal is to create a consistent texture that will hold together when mixed with melted butter. Pour the crumbs into a mixing bowl; this will serve as the base for your cheesecakes.
Step 2: Mix in melted butter.
Melt the unsalted butter and combine it with the cookie crumbs. This step is essential as the melted butter acts as a binding agent, ensuring that the crumb mixture will stick together when pressed into the molds. Mix thoroughly until all crumbs are coated, and you should have a sandy texture that holds together when squeezed.
Step 3: Press the crust into mini cheesecake molds.
Spoon the crumb mixture into the bottom of mini cheesecake molds or muffin tins lined with paper liners. Use the back of a spoon or your fingers to firmly pack the crumbs into an even layer. Pressing down adequately helps form a stable crust that won't crumble when you remove the cheesecakes from the molds. Chill the crust in the refrigerator while preparing the filling.
Step 4: Create the cheesecake filling.
In a large mixing bowl, beat the cream cheese until smooth. Gradually add powdered sugar, mixing until well combined. The goal is a creamy and fluffy mixture, so take your time here—this step determines the texture of your cheesecake. Adding vanilla extract now will enhance the overall flavor. Once smooth, you’ll want to ensure everything is incorporated well; taste for sweetness.
Step 5: Whip the heavy cream.
In another bowl, whip the heavy cream until it forms stiff peaks. This means it will hold its shape and not fall back into the bowl. Incorporating whipped cream into the filling is what makes it light and airy. Be gentle while folding it into the cream cheese mixture to keep the volume.
Step 6: Fold whipped cream into the cheesecake mix.
Using a spatula, carefully fold the whipped cream into the cream cheese mixture. This gentle folding technique helps preserve the airiness created during the whipping process. It's important not to overmix, as this can deflate your filling and result in a denser cheesecake.
Step 7: Fill the molds with cheesecake mixture.
Spoon the cheesecake filling into each mold, over the chilled crust. Use an offset spatula to spread it evenly and smooth the tops. This layering process helps create a beautiful finish and maintains a distinct crust versus filling ratio. Tap the molds lightly on the countertop to remove any air bubbles.
Step 8: Chill the cheesecakes.
Once all molds are filled, cover them with plastic wrap and place them in the refrigerator for at least 4 hours, or overnight if possible. Chilling helps the cheesecake set properly and develop its flavors. The longer they chill, the better the texture and taste. This step is crucial, as it allows the filling to firm up.
Step 9: Top with Biscoff spread.
After the cheesecakes have set, gently remove them from the molds. You can use a small knife to loosen the sides if needed. Warm the Biscoff spread slightly to make it easier to drizzle. Spoon it over each cheesecake for a luxurious finish. This adds an extra layer of flavor and visual appeal.
Step 10: Serve and enjoy.
Decorate with additional cookie crumbles or a dollop of whipped cream if desired. Serve immediately or store in the fridge until ready to enjoy. Each bite should be creamy and flavorful, perfectly capturing the essence of Biscoff cookies. This final step allows you to present your creation beautifully, making every dessert moment special.

The Magic of Layering Flavors
When creating these mini cheesecakes, the key is balancing the rich and sweet flavors of the Biscoff spread with the creamy filling. The combination of the spiced cookie base and smooth cream cheese provides a delightful contrast that keeps each bite interesting. It's this layering that elevates the dessert from simple to extraordinary, ensuring that the flavor profiles complement and enhance one another.
A Treat for All Occasions
These No Bake Mini Biscoff Cheesecakes are perfect for any gathering or celebration. Their individual size makes them ideal for events, allowing guests to easily enjoy a dessert without the mess of cutting larger cakes. Additionally, their no-bake nature means they can be prepared ahead of time, freeing you up on the day of the event, whether it's a birthday party, holiday gathering, or casual get-together.
Customization Options
While the recipe calls for Biscoff ingredients, the basic cheesecake concept is easily adaptable. You can swap out the cookie base for others like Oreos or graham crackers and use different toppings to create new flavors. Think about adding fruit purées, chocolate ganache, or even other flavored spreads for an exciting twist. This flexibility opens doors to numerous variations, making it a versatile dessert for any palate.
FAQs
What if the cheesecake filling is too thick?
If your filling is overly thick, try gently folding in a bit more heavy cream until you achieve a smoother consistency. This should help lighten it without compromising the flavor.
Can I use different cookies for the crust?
Absolutely! While Biscoff cookies give a unique flavor, feel free to experiment with graham crackers, Oreos, or other cookie varieties that you enjoy.
My cheesecakes are too soft; what can I do?
If your cheesecakes don’t set properly, make sure they chill for the recommended time in the fridge. Consider increasing the amount of cream cheese to achieve a firmer texture in future batches.
Is it necessary to use powdered sugar instead of granulated?
Using powdered sugar is preferred for its quick incorporation and smooth texture in the cheesecake filling. Granulated sugar can make the filling gritty.
What's the best way to remove them from the molds?
Gently run a knife around the edges of the cheesecakes to help release them from the molds. If using silicone molds, they should pop out easily when turned inside out.
Can I mix in other flavors into the cheesecake mix?
Yes! You can add citrus zest, cocoa powder, or flavored extracts to infuse more depth into the cheesecake filling, creating a unique spin on the recipe.
Conclusion
These No Bake Mini Biscoff Cheesecakes offer a delightful combination of flavors and textures, perfect for any sweet tooth. Their ease of preparation and the ability to create individual servings make them a practical choice for home cooks.
Remember, while this recipe provides a fantastic foundation, don't hesitate to experiment with flavors and toppings. It's all about making it your own and enjoying the process of creating something special.
Recipe Card

Decadent Chocolate Ricotta Cake with Pudding Frosting
Ingredients
- 1 ½ cups all-purpose flour
- 1 cup granulated sugar
- ½ cup unsweetened cocoa powder
- 1 tsp baking powder
- ½ tsp baking soda
- ½ tsp salt
- ¾ cup ricotta cheese
- ½ cup vegetable oil
- 3 large eggs
- 1 tsp vanilla extract
- 1 package 3.4 oz instant chocolate pudding mix
- 2 cups milk
- 1 cup whipped topping
Instructions
- Preheat your oven to 350°F (175°C).
- Grease and flour a 9-inch round cake pan.
- In a large mixing bowl, whisk together the flour, cocoa powder, baking powder, baking soda, and salt.
- In another bowl, mix the ricotta cheese, sugar, oil, eggs, and vanilla extract until well combined.
- Gradually add the dry mixture to the wet mixture, stirring until just combined.
- Pour the batter into the prepared cake pan and smooth the top.
- Bake for 25-30 minutes, or until a toothpick comes out clean.
- Allow the cake to cool in the pan for 10 minutes, then transfer it to a wire rack to cool completely.
- In a bowl, whisk the instant chocolate pudding mix with milk until thickened.
- Fold in the whipped topping until well incorporated.
- Once the cake is cooled, frost the top with the pudding frosting carefully.
- Slice, serve, and enjoy your chocolate ricotta cake with pudding frosting!
Notes
Additional serving suggestions: pair with a crisp salad, garlic bread, or roasted seasonal vegetables for balance.
For make-ahead, prep components separately and assemble just before heating to preserve texture.
Taste and adjust with acid (lemon/vinegar) and salt right at the end to wake up flavors.


