Introduction
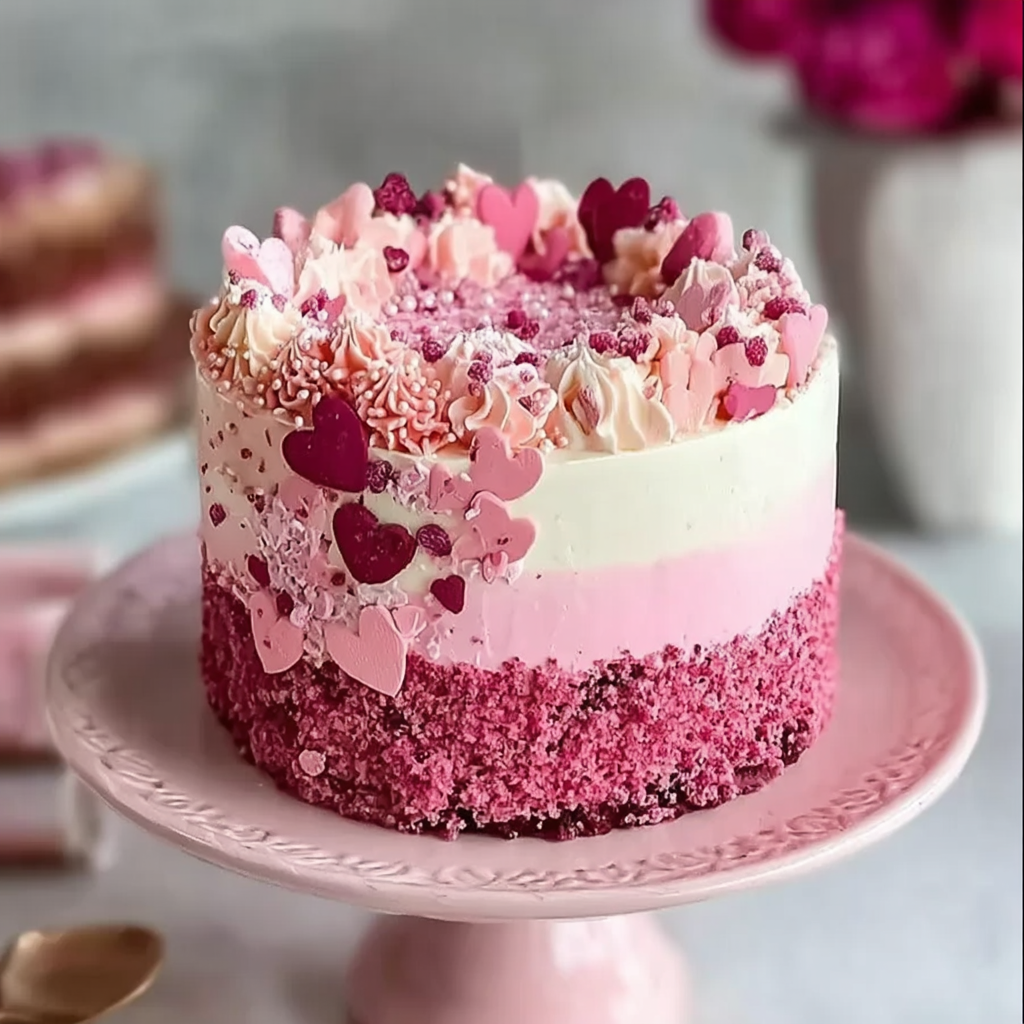
Pink velvet cake is a delightful twist on the classic red velvet, captivating anyone who lays eyes on its beautiful hue. This cake, often associated with celebrations, provides a soft, tender crumb and a hint of cocoa that balanced with a creamy frosting makes it unforgettable.
Whether you're preparing for a birthday, a wedding, or simply a weekend treat, mastering this cake can elevate your baking skills and impress your guests. Its charming color and flavor adaptability make it suitable for any event or simply as a sweet indulgence at home.
Ingredients
- 2 ½ cups all-purpose flour
All-purpose flour is the backbone of the cake, providing structure. It's crucial to sift the flour to avoid lumps and ensure a light texture. - 1 ½ cups granulated sugar
Sugar not only sweetens the cake but also contributes to the overall moisture and texture by creating a tender crumb through the creaming process. - 1 cup unsalted butter, softened
Butter adds richness and depth to flavor while also creating a fluffy texture when creamed with sugar, resulting in a light and airy cake. - 1 cup buttermilk, room temperature
Buttermilk adds acidity and moisture, which interacts with the baking soda to help the cake rise and lends a subtle tanginess to balance the sweetness. - 3 large eggs, room temperature
Eggs provide structure and stability to the cake. Using room temperature eggs ensures they blend smoothly, incorporating air for a lighter texture. - 2 tbsp cocoa powder
Cocoa powder enhances the depth of flavor without overpowering the cake. Just a touch is needed to give the pink hue a distinct character. - 1 tsp baking soda
Baking soda is the leavening agent that helps the cake rise. It reacts with the acidity from the buttermilk to create a light, fluffy texture. - 1 tsp salt
Salt enhances the flavors in the cake, balancing sweetness and reinforcing the overall flavor profile. - 1 tsp vanilla extract
Vanilla extract provides a warm, aromatic aspect that complements the other flavors, making the cake more enticing. - 1-2 tbsp red food coloring
Food coloring gives the cake its signature pink hue. Adjust the amount for your desired intensity, remembering that it can affect the flavor slightly.
Directions & Preparation
Step 1: Preheat your oven to 350°F (175°C).
Preheating your oven is a crucial first step to ensure even baking. This allows the cake to rise properly from the moment it's placed inside, preventing a dense texture.
Step 2: Prepare your cake pans by greasing and dusting with flour.
Properly preparing the pans is key to ensuring that the cake comes out smoothly without sticking. Greasing allows the cake to slide out easily while the flour adds an extra layer of protection.
Step 3: In a large mixing bowl, cream together the softened butter and granulated sugar until light and fluffy.
Creaming the butter and sugar incorporates air into the mixture, leading to a lighter cake texture. Take your time here; around 5-7 minutes will yield the best results.
Step 4: Add the eggs one at a time, mixing thoroughly after each addition.
This step helps to emulsify the mixture, ensuring a uniform batter. Adding eggs one at a time allows each to fully incorporate, leading to a well-blended final product.
Step 5: In a separate bowl, whisk together the flour, cocoa powder, baking soda, and salt.
Sifting and whisking the dry ingredients ensures they are evenly distributed, preventing clumps and allowing for a consistent baking result.
Step 6: Gradually add the dry ingredients to the wet mixture, alternating with buttermilk. Start and end with the dry ingredients.
This technique prevents overmixing, which can develop gluten and lead to a dense cake. Alternating helps maintain moisture while building the right structure.
Step 7: Stir in the vanilla extract and food coloring until evenly distributed.
Incorporating the vanilla extract and food coloring at this stage ensures both flavor and color are uniformly distributed, making for a beautifully tinted batter.
Step 8: Pour the batter evenly into the prepared cake pans and smooth the tops.
Evenly distributing the batter ensures uniform baking, preventing any doming or uneven textures in the final cakes. Don't over-fill the pans; aim for about two-thirds full.
Step 9: Bake in the preheated oven for 25 to 30 minutes, or until a toothpick inserted in the center comes out clean.
Baking times can vary; start checking at 25 minutes. The toothpick test is a reliable way to check for doneness, helping avoid overbaking—that's the enemy of moist cakes.
Step 10: Allow the cakes to cool in the pans for 10 minutes before transferring to a wire rack to cool completely.
Cooling in the pans helps them set up, making them easier to remove. Transferring to a wire rack allows them to cool evenly, preventing sogginess.
Step 11: Once cool, frost with your favorite cream cheese or buttercream frosting.
Frosting brings the cake to life, adding flavor and texture. Cream cheese frosting pairs beautifully with the subtle chocolate notes in the pink velvet, making for a delicious combination.

Embracing Color with Natural Choices
Choosing your food coloring can influence not only the look but also the taste of your cake. Natural food colorings, made from beets or other fruits, can provide a softer hue with added health benefits. This allows you to enjoy your cake without any artificial additives while achieving that signature pink shade.
Elevating Frosting Techniques
The frosting is the finishing touch to your cake, and experimenting with different styles can elevate its presentation. From simple swirls to intricate piping, the way you frost can express your creative flair. Consider adding sprinkles or edible flowers for a touch of elegance, tailoring it to suit the occasion.
Serving Suggestions for Every Celebration
Pink velvet cake is versatile when it comes to serving styles. Pair it with fresh berries and whipped cream for a lighter feel, or serve with a scoop of vanilla ice cream for an indulgent treat. Each option can adapt the cake’s flavor profile, making it just right for birthdays, weddings, or casual gatherings.
FAQs
What if my batter is too thick?
If your batter seems too thick, try adding an extra splash of buttermilk to loosen it. This will help create the proper cake consistency.
How can I ensure my cake is not bland?
To enhance flavor, make sure each ingredient is fresh and within its expiration date. The balance of buttermilk and cocoa powder should also be adjusted according to your taste preference.
Why is my cake dome-shaped?
If the cakes are domed, it may be due to overmixing or the oven temperature being too high. Consider ensuring that the oven is calibrated properly.
Can I adjust the sugar in this recipe?
Yes, you can reduce the sugar slightly if you prefer a less sweet cake. Just be cautious not to reduce it too much, as it helps with moisture and texture.
What can I do if my frosting isn't spreading well?
If your frosting is too stiff, try adding a teaspoon of milk or cream to thin it out. This will make it easier to spread while maintaining its structure.
Can I substitute cake flour for all-purpose flour?
Yes, you can substitute cake flour for all-purpose flour for an even lighter texture. Use about 2 ¼ cups of cake flour in place of 2 ½ cups of all-purpose flour.
Conclusion
Creating the perfect pink velvet cake is achievable with the right ingredients and techniques. As you become comfortable with the process, don’t hesitate to experiment with flavors and presentation to make it your own.
This cake not only brings beauty to the table but also a delicious bite that can be embraced at any celebration. Happy baking, and enjoy sharing your creations with those you love!
Recipe Card
Pinterest Image
\n\n

Creating the Perfect Pink Velvet Cake for Any Occasion
Ingredients
- 2 ½ cups all-purpose flour
- 1 ½ cups granulated sugar
- 1 cup unsalted butter softened
- 1 cup buttermilk room temperature
- 3 large eggs room temperature
- 2 tbsp cocoa powder
- 1 tsp baking soda
- 1 tsp salt
- 1 tsp vanilla extract
- 1-2 tbsp red food coloring
Instructions
- Preheat your oven to 350°F (175°C).
- Prepare your cake pans by greasing and dusting with flour.
- In a large mixing bowl, cream together the softened butter and granulated sugar until light and fluffy.
- Add the eggs one at a time, mixing thoroughly after each addition.
- In a separate bowl, whisk together the flour, cocoa powder, baking soda, and salt.
- Gradually add the dry ingredients to the wet mixture, alternating with buttermilk. Start and end with the dry ingredients.
- Stir in the vanilla extract and food coloring until evenly distributed.
- Pour the batter evenly into the prepared cake pans and smooth the tops.
- Bake in the preheated oven for 25 to 30 minutes, or until a toothpick inserted in the center comes out clean.
- Allow the cakes to cool in the pans for 10 minutes before transferring to a wire rack to cool completely.
- Once cool, frost with your favorite cream cheese or buttercream frosting.
Notes
Additional serving suggestions: pair with a crisp salad, garlic bread, or roasted seasonal vegetables for balance.
For make-ahead, prep components separately and assemble just before heating to preserve texture.
Taste and adjust with acid (lemon/vinegar) and salt right at the end to wake up flavors.


