Introduction
The Cookie Monster Cake is a whimsical dessert that delights both children and adults alike. Bursting with flavor, it pays homage to everyone's favorite blue monster while providing a creative outlet for home bakers. Whether it's for a birthday party or a fun weekend treat, this cake will surely steal the show.
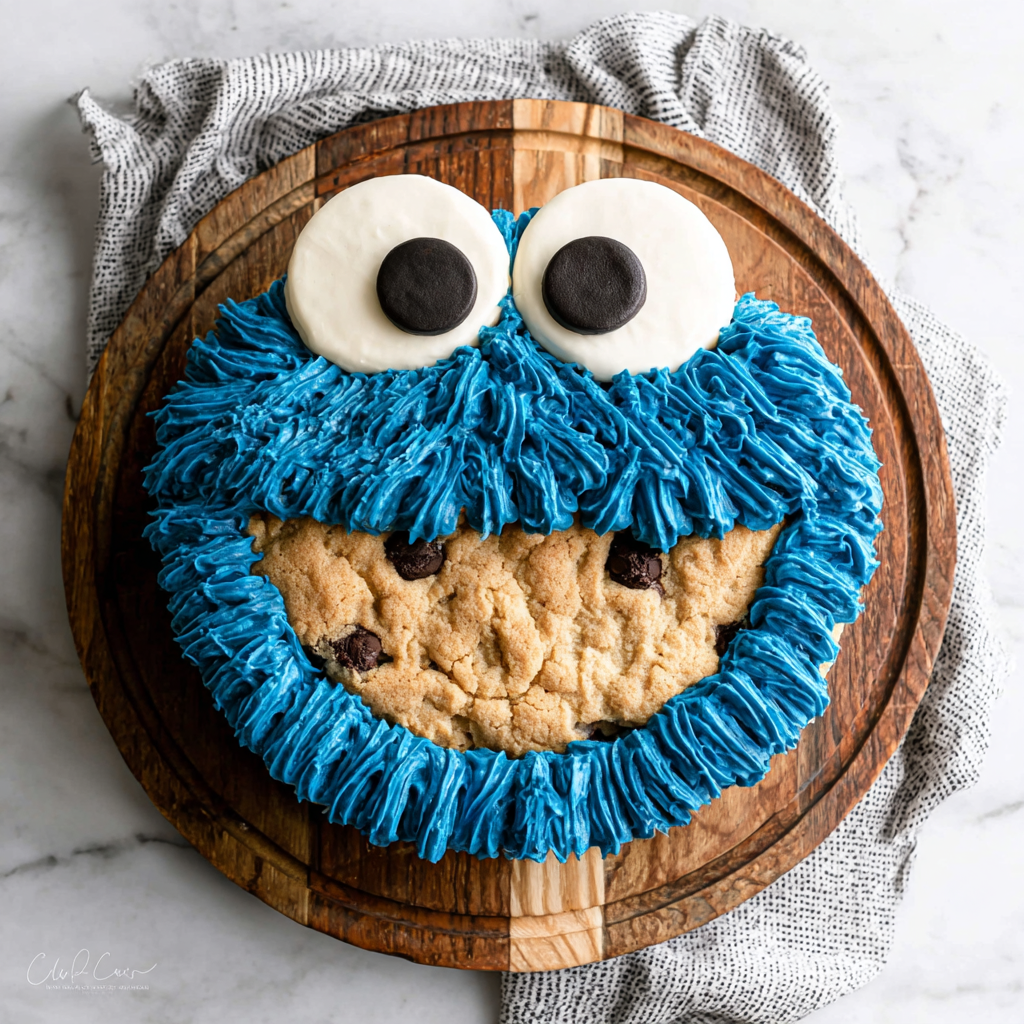
With layers of chocolate cake, rich buttercream, and broken cookie pieces, it embodies a delightful combination of textures. The playful presentation, complete with blue frosting and cookie eyes, makes it a dessert that encourages creativity in the kitchen. Baking this cake not only satisfies sweet cravings but also invites a little fun into your culinary routine.
Ingredients
- 2 ½ cups all-purpose flour
The base of the cake, all-purpose flour provides the structure needed for a good rise and texture. It forms gluten when mixed with liquids, which helps hold the cake together. - 2 ½ tsp baking powder
Baking powder is a leavening agent that helps the cake rise by creating bubbles in the batter. It is crucial for achieving a light and fluffy texture. - 1 tsp baking soda
Baking soda reacts with acidic ingredients to produce carbon dioxide, adding lift to the cake. It also enhances browning for a nice color. - 1 tsp salt
Salt enhances flavor and balances the sweetness in desserts. It also strengthens the dough structure by tightening the gluten. - 1 cup unsalted butter, softened
Butter adds moisture and richness to the cake, contributing to a tender crumb. It also incorporates air when creamed with sugar, further aiding in the cake's rise. - 2 cups granulated sugar
Sugar provides sweetness and helps with browning. It also contributes to the cake's moistness and texture. - 4 large eggs
Eggs bind the ingredients together and add moisture. They also act as a leavening agent, helping the cake to rise. - 1 tsp vanilla extract
Vanilla extract enhances the overall flavor of the cake, providing warmth and depth to the sweetness. - 1 cup buttermilk
Buttermilk adds moisture and acidity, which tenderizes the gluten and contributes to a softer cake. It also enhances the flavor profile. - 2 cups powdered sugar
Powdered sugar is used for making buttercream, providing sweetness and a smooth texture. It dissolves easily, creating a light frosting. - 1 cup heavy cream
Heavy cream is used for whipping, creating a light and fluffy frosting. It adds richness and enhances the overall creaminess of the cake. - 1 cup chocolate cookies, crushed
Broken cookie pieces add texture and flavor as decorations on and within the cake. They bring an element of fun and surprise. - Blue food coloring
Food coloring is essential for achieving the signature blue hue of the Cookie Monster, giving it a playful and vibrant appearance.
Directions & Preparation
Step 1: Preheat the oven to 350°F (175°C) and grease three 9-inch round cake pans.
Preheating the oven is a vital step to ensure even baking of the cake. Greasing the pans prevents the cake from sticking, which is crucial for achieving clean, intact layers. Use a light coating of butter or non-stick spray to cover the bottoms and sides of the pans.
Step 2: In a bowl, whisk together the flour, baking powder, baking soda, and salt.
Whisking the dry ingredients ensures that they are evenly distributed, which is important for consistent leavening and flavor throughout the cake. This step also helps to aerate the flour, which can lead to a lighter texture in the final product.
Step 3: Cream the softened butter and sugar together until light and fluffy.
This step is crucial for incorporating air into the batter. Creaming the butter and sugar properly will result in a lighter cake as air pockets expand while baking, contributing to a desirable texture.
Step 4: Add the eggs one at a time, mixing well after each addition, and then stir in the vanilla extract.
Incorporating the eggs gradually allows for better emulsification, which contributes to a stable batter that holds its structure. The vanilla enhances the cake's flavor, making it more aromatic and palatable.
Step 5: Mix in half of the dry ingredients, followed by the buttermilk, and then the rest of the flour mixture until just combined.
This method prevents over-mixing, which can develop gluten and lead to a tough cake. Alternating between dry and wet ingredients ensures a smoother batter and a well-combined mixture.
Step 6: Divide the batter evenly among the prepared pans and smooth the tops before baking.
Smoothing the tops ensures even baking, helping the cakes to rise uniformly. A consistent layer also aids in stacking during assembly, making the final cake look more polished.
Step 7: Bake for 25 to 30 minutes, or until a toothpick inserted in the center comes out clean.
The baking time is crucial for achieving the right texture. Overbaking can lead to a dry cake, while underbaking leaves it gooey. The toothpick test is a reliable method to check for doneness.
Step 8: Let the cakes cool in the pans for 10 minutes, then transfer to wire racks to cool completely.
Cooling in the pans allows the cakes to firm up slightly, making them easier to handle. Transferring them to wire racks ensures they cool evenly, preventing sogginess on the bottom.
Step 9: Prepare the buttercream by beating the softened butter with powdered sugar and heavy cream until light and fluffy.
This step is key for creating a smooth frosting. Beating incorporates air into the mixture, giving the buttercream a light texture that spreads easily and looks beautiful.
Step 10: Add blue food coloring to the buttercream until the desired shade is reached, then set aside.
Adding food coloring at this stage allows you to customize the intensity of the blue shade for the Cookie Monster aesthetic. Adjust slowly, mixing well for a uniform color.
Step 11: Assemble the cooled cakes by placing one layer on a serving plate and spreading with buttercream, adding crushed cookies in between layers.
Proper assembly helps the layers adhere and adds beautiful texture. The crushed cookies enhance both the visual appeal and flavor profile of the cake.
Step 12: Frost the top and sides of the entire cake with the blue buttercream, creating a 'fur' texture if desired.
Applying frosting evenly coats the cake to seal in moisture and provide a base for decorations. Creating texture gives a whimsical look reminiscent of Cookie Monster’s fur.
Step 13: Decorate the top with additional crushed cookies and add cookie eyes for finishing touches.
The final decoration elevates the cake's aesthetic, making it eye-catching. Using cookie eyes adds a fun, playful element that brings the Cookie Monster concept to life.
Step 14: Chill the cake for at least 30 minutes before serving to set the frosting.
Chilling helps stabilize the frosting making it easier to slice and serve. This also enhances the flavors as they meld together, creating a richer taste experience.

The Art of Decorating a Cookie Monster Cake
Decorating a Cookie Monster Cake is where the fun truly begins. The blue buttercream serves as a vibrant base, but the toppings are what bring it to life. Use cookie pieces to create a chaotic yet charming look that mirrors the enthusiastic spirit of Cookie Monster. Whether you opt for whipped cream fur or extra cookies for texture, don’t hesitate to get creative and experiment!
Choosing the Right Cookies for Flavor and Texture
When selecting cookies to incorporate into your Cookie Monster Cake, consider both flavor and texture. Chocolate cookies provide a rich flavor that pairs well with the buttercream, while their crunchiness adds a delightful contrast. You can also mix and match with colorful cookies to create a visually appealing slice. The right choice of cookies will enhance the overall dessert experience.
Event Ideas to Celebrate with Cookie Monster Cake
The Cookie Monster Cake is perfect for a range of celebrations, from children's birthdays to casual gatherings with friends. Its cheerful appearance makes it a great centerpiece for parties. Consider themed events like a monster-themed birthday bash or a fun movie night! This cake will surely get guests in the spirit, making it a wonderful choice for any social occasion.
FAQs
What if my cake layers rise unevenly?
Uneven rising can occur due to inaccurate oven temperatures or incorrect batter distribution. Ensure your oven is correctly calibrated and the batter is evenly divided among the pans.
How can I make my frosting less sweet?
To balance sweetness in the frosting, consider adding a pinch of salt or mixing in a bit of cocoa powder, which added richness can help mitigate the sweetness.
Can I use a different color for the frosting?
Absolutely! While blue is traditional for a Cookie Monster Cake, you can choose any color to match your theme. Just adjust the food coloring accordingly.
What if my buttercream is too thick?
If your buttercream is too thick, add a tablespoon of heavy cream or milk at a time until you reach the desired consistency for spreading.
Is there a way to make this cake gluten-free?
Yes, you can substitute the all-purpose flour with a gluten-free flour blend. Ensure that the blend is designed for baking to maintain the cake’s structure.
Can this recipe be scaled for a sheet cake?
Yes, you can adapt this recipe for a sheet cake by baking it in a single rectangular pan. Adjust the baking time as needed; start checking for doneness 5-10 minutes early.
Conclusion
Creating a Cookie Monster Cake is a delightful experience that combines baking, decorating, and a touch of whimsical fun. It's more than just a dessert; it’s an adventure that brings joy to any occasion.
Once the cake is complete, watch it steal the spotlight at your next gathering. Encourage everyone to dig in, celebrating the creativity and deliciousness that come with this charming cake.
Recipe Card

Deliciously Fun Cookie Monster Cake Recipe
Ingredients
- 2 ½ cups all-purpose flour
- 2 ½ tsp baking powder
- 1 tsp baking soda
- 1 tsp salt
- 1 cup unsalted butter softened
- 2 cups granulated sugar
- 4 large eggs
- 1 tsp vanilla extract
- 1 cup buttermilk
- 2 cups powdered sugar
- 1 cup heavy cream
- 1 cup chocolate cookies crushed
- Blue food coloring
Instructions
- Preheat the oven to 350°F (175°C) and grease three 9-inch round cake pans.
- In a bowl, whisk together the flour, baking powder, baking soda, and salt.
- Cream the softened butter and sugar together until light and fluffy.
- Add the eggs one at a time, mixing well after each addition, and then stir in the vanilla extract.
- Mix in half of the dry ingredients, followed by the buttermilk, and then the rest of the flour mixture until just combined.
- Divide the batter evenly among the prepared pans and smooth the tops before baking.
- Bake for 25 to 30 minutes, or until a toothpick inserted in the center comes out clean.
- Let the cakes cool in the pans for 10 minutes, then transfer to wire racks to cool completely.
- Prepare the buttercream by beating the softened butter with powdered sugar and heavy cream until light and fluffy.
- Add blue food coloring to the buttercream until the desired shade is reached, then set aside.
- Assemble the cooled cakes by placing one layer on a serving plate and spreading with buttercream, adding crushed cookies in between layers.
- Frost the top and sides of the entire cake with the blue buttercream, creating a 'fur' texture if desired.
- Decorate the top with additional crushed cookies and add cookie eyes for finishing touches.
- Chill the cake for at least 30 minutes before serving to set the frosting.
Notes
Additional serving suggestions: pair with a crisp salad, garlic bread, or roasted seasonal vegetables for balance.
For make-ahead, prep components separately and assemble just before heating to preserve texture.
Taste and adjust with acid (lemon/vinegar) and salt right at the end to wake up flavors.


