Introduction
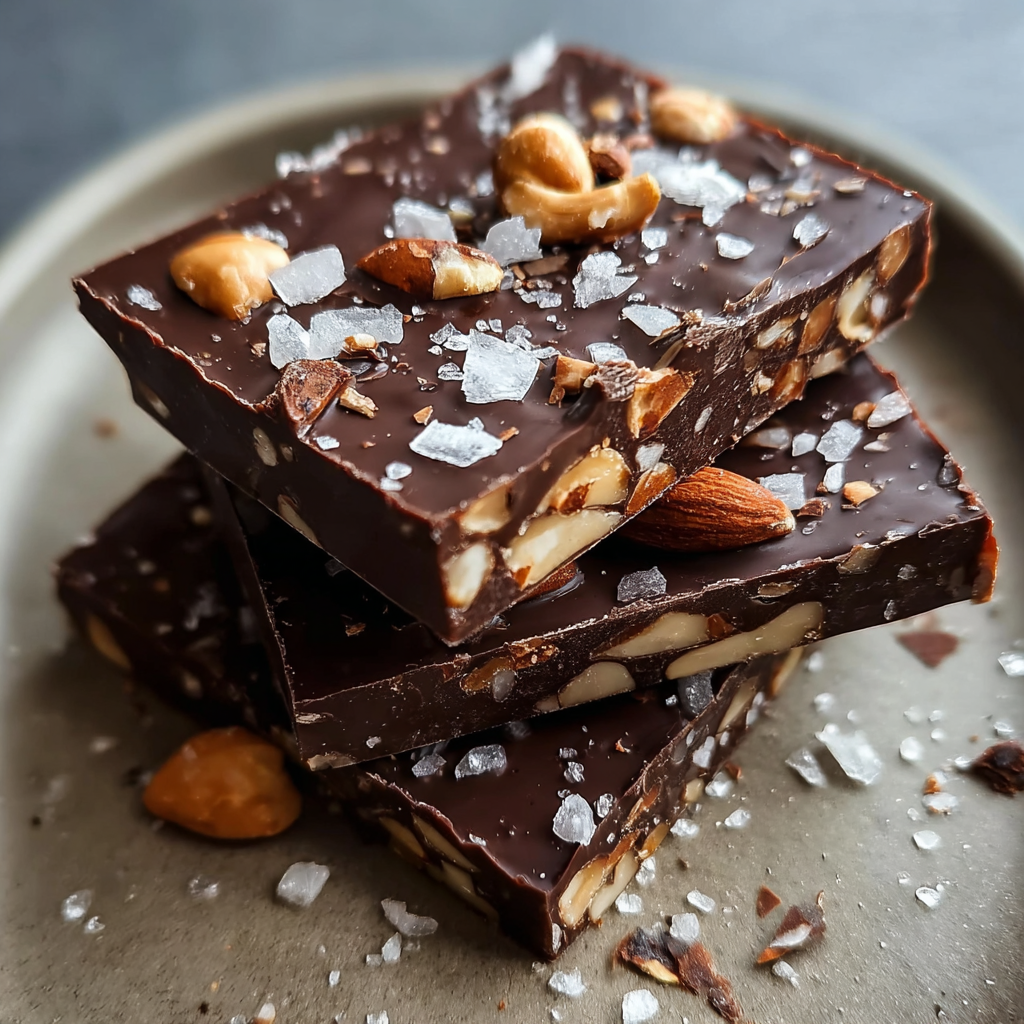
Dark Chocolate and Sea Salt Nut Bars are a delectable fusion of rich flavors and satisfying textures that make a perfect snack anytime. With a tantalizing contrast between the sweetness of dark chocolate and the savory touch of sea salt, these bars not only taste divine but also offer a nutritious boost using wholesome ingredients. Easy to prepare, they are an excellent option for busy home cooks looking to satisfy their sweet tooth without compromising on health.
These nut bars are ideal for meal prep, allowing you to have a grab-and-go snack ready for your week ahead. Packed with fiber, healthy fats, and antioxidants, they’re sure to keep your energy levels high throughout the day. Rather than reaching for the usual sugary treats, indulge in these homemade goodies that balance nutrition and pleasure.
Ingredients
- 1 cup mixed nuts (almonds, walnuts, pecans)
Nuts are not only a great source of healthy fats and protein, but they also provide fiber and essential vitamins. Each type of nut contributes a unique flavor and crunch, making the bars delightfully varied in texture and taste. - 1 cup pitted dates
Dates serve as a natural sweetener and binder, eliminating the need for added sugars or syrups. Their chewy texture helps hold the bars together while providing a caramel-like sweetness that complements the chocolate. - 1/2 cup dark chocolate chips (70% cocoa or higher)
Dark chocolate is packed with antioxidants and a rich source of flavor, adding depth to the bars. The higher cocoa percentage ensures a less sweet, more intense chocolate flavor that pairs beautifully with the sea salt. - 1/4 teaspoon sea salt
Sea salt enhances flavors and adds an unexpected savory note that contrasts with the sweetness of the chocolate and dates. A sprinkle on top right before serving also adds visual appeal. - 1 tablespoon almond butter
Almond butter adds creaminess and a rich, nutty flavor while helping to bind the mixture together. It also provides additional healthy fats and protein, boosting the overall nutrition of the bars. - 1 teaspoon vanilla extract
Vanilla extract infuses the bars with a warm, familiar flavor, enhancing the sweet and savory elements. It’s an essential ingredient that rounds out the other flavors nicely.
Directions & Preparation
Step 1: Prepare a baking dish.
Start by lining an 8×8 inch baking dish with parchment paper, leaving some overhang on the sides. This will make it easier to remove the bars once cooled. Grease the parchment lightly with cooking spray to ensure the bars can be lifted out smoothly.
Step 2: Process the nuts in a food processor.
Add the mixed nuts to a food processor and pulse until coarsely chopped. This step is vital as it creates the base texture of the bars. Be cautious not to over-process; you want some crunch and not nut butter. The chopped nuts will provide texture and essential nutrients.
Step 3: Blend dates, almond butter, and vanilla.
Add pitted dates, almond butter, and vanilla extract to the food processor with the nuts. Process until the mixture is sticky and well-combined. The dates will break down and bind the mixture together, while the almond butter adds creaminess that enhances the bars’ texture.
Step 4: Stir in chocolate chips and sea salt.
Transfer the mixture to a mixing bowl and fold in the dark chocolate chips and sea salt gently. This step incorporates the chocolate and evenly distributes the salt, ensuring every bite is flavorful. Reserve some chocolate chips to sprinkle on top for added appeal.
Step 5: Press the mixture into the baking dish.
Using your hands or a spatula, firmly press the mixture into the prepared baking dish in an even layer. It’s crucial to pack it tightly; loosening the mixture will result in crumbly bars. You want the bars to hold their shape well when sliced.
Step 6: Refrigerate to set.
Place the baking dish in the refrigerator for at least an hour to allow the bars to firm up. Chilling helps the fats solidify, making it easier to slice the bars without them falling apart. This step is key to achieving that perfect chewy texture.
Step 7: Slice and serve.
Once firm, lift the mixture out of the baking dish using the parchment overhang and slice into bars. Serving fresh allows you to enjoy the textures and flavors at their peak. Store them in an airtight container, and feel free to add a sprinkle of sea salt on top for a finishing touch.

The Health Benefits of Nuts
Mixed nuts are more than just a delicious addition to your Dark Chocolate and Sea Salt Nut Bars; they provide a powerhouse of nutrition. Rich in unsaturated fats, fiber, folate, and protein, they support healthy heart function and can aid in weight management. Including a variety of nuts also ensures a broader spectrum of nutrients, making your snacks both satisfying and beneficial.
Choosing the Right Chocolate
When selecting dark chocolate for your bars, aim for one that contains at least 70% cocoa. The higher cocoa content means more antioxidants and less sugar, creating a balanced flavor that enhances the bars without overwhelming sweetness. Additionally, quality dark chocolate tends to melt beautifully, integrating well with the other ingredients.
Perfect Pairings and Serving Suggestions
These nut bars can stand alone, but they also pair beautifully with a variety of beverages and ingredients. Enjoy them with a cup of herbal tea or as a post-workout snack alongside fresh fruit. For an extra indulgence, consider drizzling a little more dark chocolate over the top before slicing for a beautiful presentation.
FAQs
What if the mixture is too dry?
If the mixture is too dry and crumbly, try adding a touch more almond butter or a few drops of water to help bind it together. Processing the mixture longer can also help to break down the nuts and dates further.
Are there any nut substitutions for this recipe?
Yes, you can substitute any of the nuts in the recipe with your favorites, such as cashews or hazelnuts. Just ensure the total quantity remains the same to maintain the balance of flavors and texture.
How can I make the bars less sweet?
To reduce the sweetness of the bars, you can decrease the amount of dates slightly or opt for unsweetened dark chocolate. This adjustment will retain the richness while cutting back on the overall sweetness.
What should I do if the bars crumble when cut?
If the bars crumble upon cutting, they may not have been pressed firmly enough into the baking dish. Next time, make sure to pack the mixture tightly, or you can blend a bit of additional almond butter to help bind it further.
Can I add other ingredients to enhance flavor?
Absolutely! Dried fruits like cranberries, or seeds such as pumpkin and sunflower seeds can enhance the flavor and texture. Just keep the total volume consistent to maintain the integrity of the bars.
Is there a way to adjust the saltiness of the bars?
To adjust the saltiness, simply modify the amount of sea salt you add. You can taste the mixture before pressing it into the dish and decide if you’d like more or less salt based on your preference.
Conclusion
Creating your own Dark Chocolate and Sea Salt Nut Bars transforms snacking into a wholesome experience. Each bite is packed with flavor, nutrition, and satisfaction, making them an excellent addition to your recipe repertoire.
Whether you choose to enjoy them as an afternoon snack, a pre-workout boost, or a sweet treat, these bars undoubtedly hit the mark in taste and health. Explore your variations and make them uniquely yours.
Recipe Card

Nutty Delights: Dark Chocolate and Sea Salt Bars
Ingredients
- 1 cup mixed nuts almonds, walnuts, pecans
- 1 cup pitted dates
- 1/2 cup dark chocolate chips 70% cocoa or higher
- 1/4 teaspoon sea salt
- 1 tablespoon almond butter
- 1 teaspoon vanilla extract
Instructions
- Prepare a baking dish.
- Process the nuts in a food processor.
- Blend dates, almond butter, and vanilla.
- Stir in chocolate chips and sea salt.
- Press the mixture into the baking dish.
- Refrigerate to set.
- Slice and serve.
Notes
Additional serving suggestions: pair with a crisp salad, garlic bread, or roasted seasonal vegetables for balance.
For make-ahead, prep components separately and assemble just before heating to preserve texture.
Taste and adjust with acid (lemon/vinegar) and salt right at the end to wake up flavors.


