Introduction
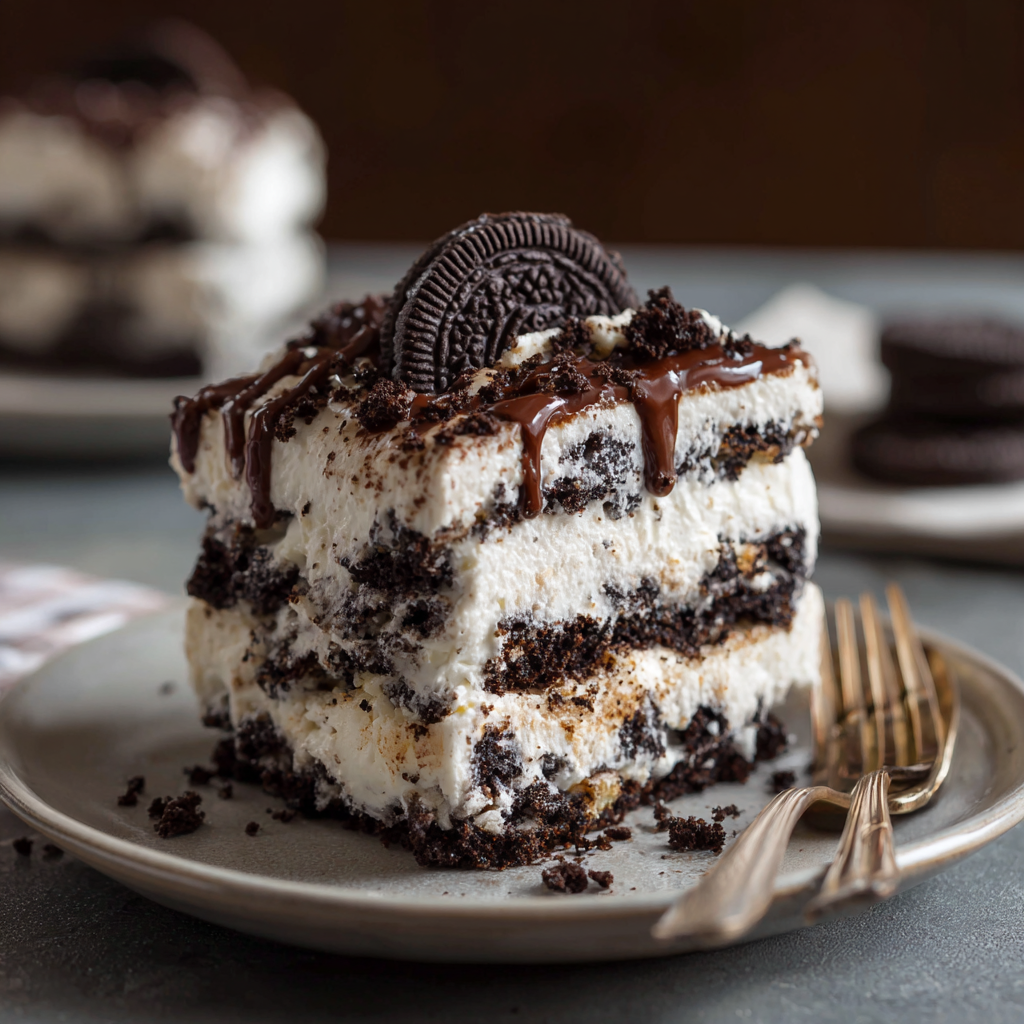
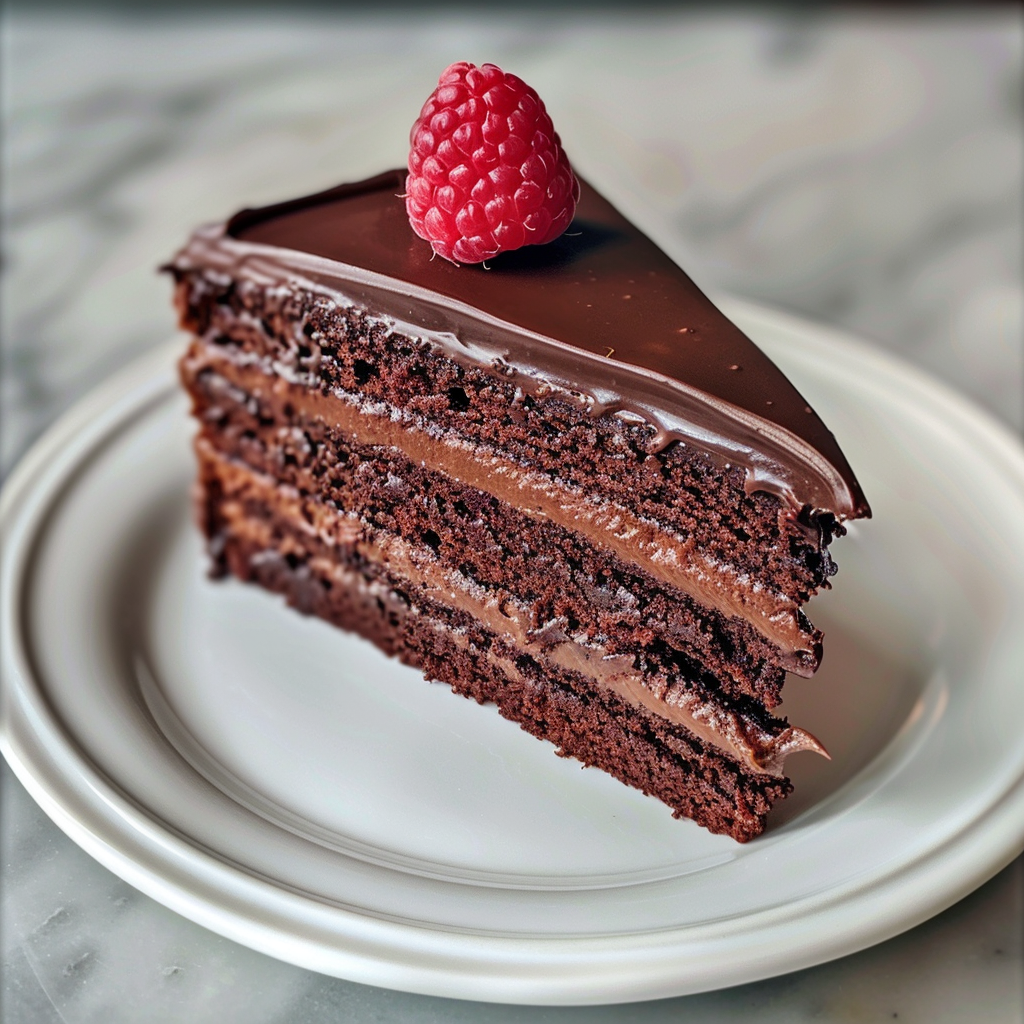
Imagine sinking your fork into a slice of Decadent Chocolate Truffle Layer Cake, where every layer whispers sweet promises of chocolate bliss. This is more than a dessert; it's an experience that transforms ordinary moments into something extraordinary.
The combination of rich dark chocolate, velvety cream, and luscious truffles creates an electric tension between indulgence and sophistication. With each bite, you'll revel in the multi-dimensional flavors and textures, delighting in the silky ganache, moist cake layers, and the light, airy whipped topping.
Ingredients
- 1 ¾ cups all-purpose flour
This is the foundation of our cake, providing structure and a tender crumb. - 1 ½ cups granulated sugar
Balances the bitterness of the chocolate while keeping the cake moist. - ¾ cup unsweetened cocoa powder
Provides a deep chocolate flavor and a richness that defines this dessert. - 1 ½ teaspoons baking powder
Ensures our cake rises perfectly, contributing to a light and fluffy texture. - 1 teaspoon baking soda
Essential for leavening, giving the cake its ideal lift and softness. - ½ teaspoon salt
Enhances all the flavors, making the sweetness and chocolate even more pronounced. - 1 cup buttermilk
Adds moisture and tang; can be substituted with yogurt or milk plus vinegar. - ½ cup vegetable oil
Keeps the cake moist and contributes to a fine crumb. - 2 large eggs
Bind the ingredients together and add richness. - 1 teaspoon pure vanilla extract
Infuses a subtle warmth to balance the deep chocolate notes. - 8 ounces bittersweet chocolate
The star of the show—melted for a silky ganache that coats each layer. - 1 cup heavy cream
Used for whipping, giving the cake a luscious topping that's rich but airy. - 4 ounces semi-sweet chocolate truffles
Adds a gourmet touch and makes each slice a chocolate lover's dream.
Directions & Preparation
Step 1: Preheat your oven to 350°F (175°C). Grease and flour two 9-inch round cake pans.
Good preparation is vital. The right temperature helps the cake rise evenly, ensuring a glorious height. Greasing and flouring the pans will prevent any sticking, resulting in flawless cake layers.
Step 2: In a large mixing bowl, whisk together the flour, sugar, cocoa powder, baking powder, baking soda, and salt.
Observe the rich, dark mixture as it combines. This step mixes dry ingredients thoroughly, setting the stage for even flavor throughout the cake, making each bite a consistent delight.
Step 3: In another bowl, whisk together the buttermilk, oil, eggs, and vanilla extract until smooth and well combined.
Feel the creamy mixture blend under your whisk—its silky texture creates a wonderful contrast with the dry ingredients.
Step 4: Pour the wet ingredients into the dry ingredients and mix until just combined—don’t overmix!
As you combine the two, the batter takes on a rich, dark hue. This moment is crucial; overmixing can lead to a tough cake, while gentle mixing preserves a soft texture.
Step 5: Divide the batter evenly between the prepared pans and spread it out smoothly.
As you pour, listen to the gentle plop of batter hitting the pans. The smooth, glossy surface hints at the rich flavors to come. Watch for it to level out beautifully.
Step 6: Bake in the preheated oven for 25-30 minutes, until a toothpick inserted into the center comes out clean.
The aroma of chocolate envelops your kitchen, signaling it's almost ready. Keep an eye on the cake—when the toothpick emerges clean and the edges pull away, trust it's done.
Step 7: Allow the cakes to cool in the pans for 10 minutes before transferring them onto a wire rack to cool completely.
This moment is crucial. The scent of warm chocolate wafts through the air. Cooling helps the structure stabilize, making it easier to frost.
Step 8: Prepare the chocolate ganache by melting the bittersweet chocolate and heavy cream together, stirring until smooth and silky.
As the heat envelops the chocolate, watch it transform into a pool of liquid silk. This luxurious ganache will form dreamy layers.
Step 9: Once the cakes are cool, level the tops with a serrated knife if necessary, then place one layer on a serving plate and spread a layer of ganache over the top.
You’ll hear a delightful rasp of the knife on cake as you level it. Spreading the ganache is a divine moment—smooth it out to the edges, allowing it to drip slightly for a luscious look.
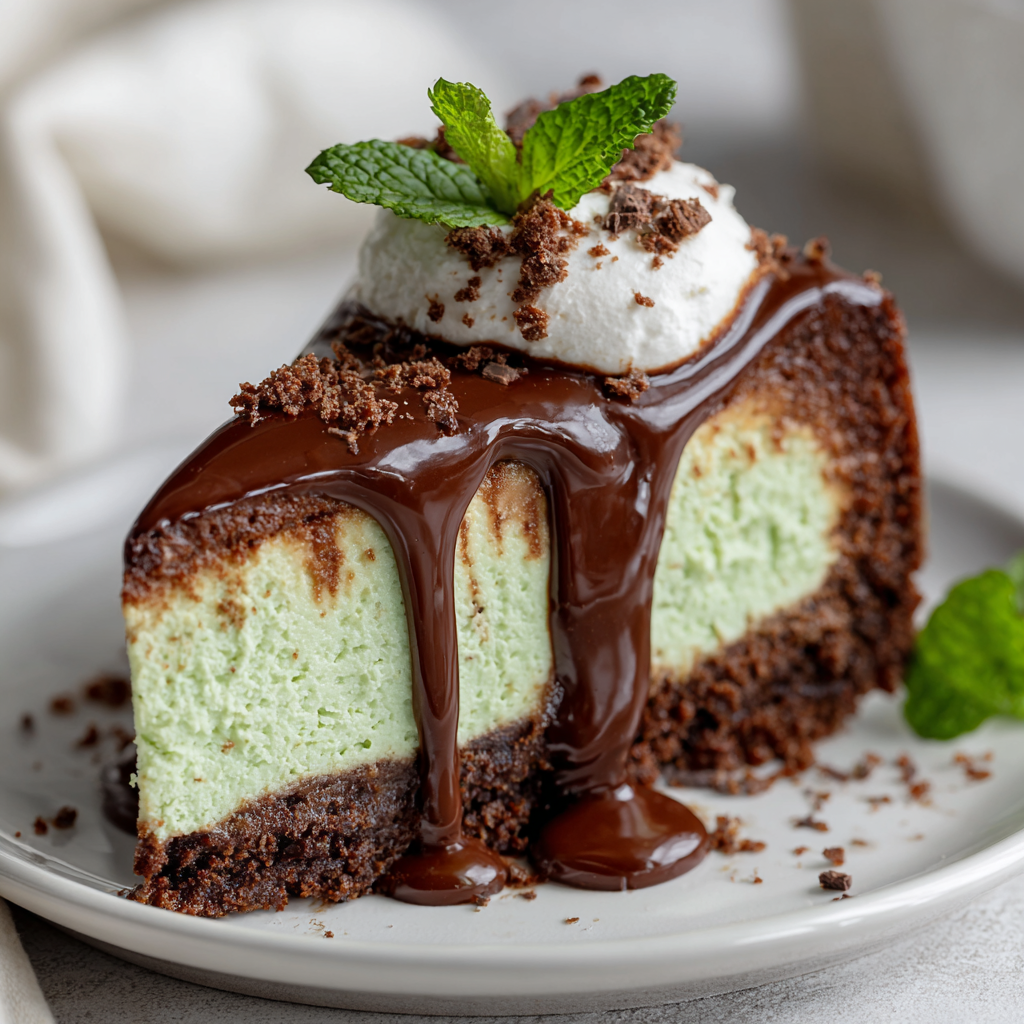
Step 10: Stack the second layer on top and pour the remaining ganache generously over the top, allowing it to drip down the sides.
The ganache envelops the cake like a warm hug, creating a glossy waterfall of chocolate richness. The visual appeal tempts you to dive right in.
Step 11: Finish with whipped cream and garnish with chocolate truffles before serving immediately—or refrigerate for a firmer cut.
Whipped cream adds a cloud-like touch, while truffles elevate the experience. The anticipation builds as you prepare to slice into this masterpiece.

The Magic of Chocolate Ganache
Chocolate ganache is not just for covering cakes; it’s the luscious secret behind this truffle layer cake. Its smooth, velvety texture instantly elevates the cake, adding a layer of sophistication that makes each bite indulgent. The rich cocoa flavor harmonizes with the moist layers, amplifying the overall chocolate experience.
Choosing the Right Chocolate for Layers
The type of chocolate you choose is pivotal. Bittersweet chocolate brings a depth that balances the sweetness of the cake, while semi-sweet truffles create a delightful contrast. Quality matters, so opt for a brand you love—your taste buds will thank you and your cake will sing with layered complexity.
Personalize Your Cake Layers
This cake is a canvas for your creativity. Consider folding in espresso powder for a mocha twist or adding a pinch of sea salt to enhance the chocolate's allure. With each variation, you can tailor it to your taste. The recipe is flexible enough to welcome your favorite flavors, making every cake uniquely yours.
FAQs
What should I do if my ganache is too thick?
If your ganache is too thick, simply add a splash of warm heavy cream and stir until it reaches a pourable consistency. Heating gently helps it become silky again.
Can I make this cake in advance?
Absolutely! You can bake and assemble the cake a day ahead. Simply store it in the fridge, wrapped well. Just bring it to room temperature before serving for the best texture.
How can I make the layers more flavorful?
Drizzle your cake layers with a chocolate liqueur or espresso for an added punch of flavor before spreading the ganache; it's a simple way to elevate the taste.
What if my cake layers domed while baking?
If your cake layers have domed, don’t worry! Use a serrated knife to trim the tops level, ensuring a flat base for assembling your cake.
Is there a way to add fruit to the layers?
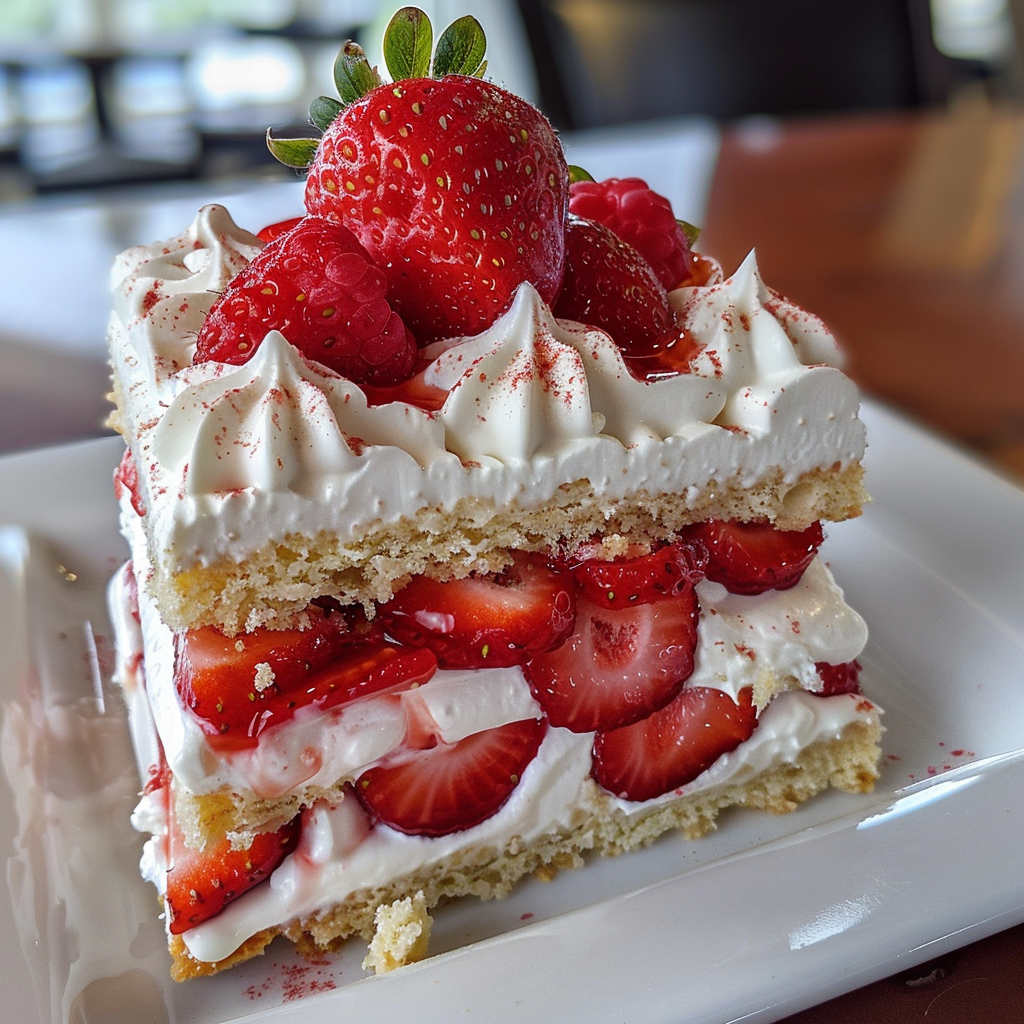
Yes! Fresh raspberries or sliced strawberries between the layers balance the richness with acidity and freshness, creating a delightful twist.
Can I substitute the vegetable oil for butter?
You can substitute it, but keep in mind that the cake may turn out denser. Melted butter can enhance flavor, but oil helps retain moisture.
Conclusion
With its cascading ganache and heavenly layers, the Decadent Chocolate Truffle Layer Cake is a celebration on any table. Each forkful is an invitation to surrender to sweet temptation, making it an unforgettable finale to a meal.
So today, pause for a moment and treat yourself. Gather your ingredients, channel your inner baker, and immerse yourself in the joy of creating something truly special. This cake awaits your loving touch.
Recipe Card
Indulge in Decadent Chocolate Truffle Layer Cake
Ingredients
- 1 ¾ cups all-purpose flour
- 1 ½ cups granulated sugar
- ¾ cup unsweetened cocoa powder
- 1 ½ teaspoons baking powder
- 1 teaspoon baking soda
- ½ teaspoon salt
- 1 cup buttermilk
- ½ cup vegetable oil
- 2 large eggs
- 1 teaspoon pure vanilla extract
- 8 ounces bittersweet chocolate
- 1 cup heavy cream
- 4 ounces semi-sweet chocolate truffles
Instructions
- Preheat your oven to 350°F (175°C). Grease and flour two 9-inch round cake pans.
- In a large mixing bowl, whisk together the flour, sugar, cocoa powder, baking powder, baking soda, and salt.
- In another bowl, whisk together the buttermilk, oil, eggs, and vanilla extract until smooth and well combined.
- Pour the wet ingredients into the dry ingredients and mix until just combined—don’t overmix!
- Divide the batter evenly between the prepared pans and spread it out smoothly.
- Bake in the preheated oven for 25-30 minutes, until a toothpick inserted into the center comes out clean.
- Allow the cakes to cool in the pans for 10 minutes before transferring them onto a wire rack to cool completely.
- Prepare the chocolate ganache by melting the bittersweet chocolate and heavy cream together, stirring until smooth and silky.
- Once the cakes are cool, level the tops with a serrated knife if necessary, then place one layer on a serving plate and spread a layer of ganache over the top.
- Stack the second layer on top and pour the remaining ganache generously over the top, allowing it to drip down the sides.
- Finish with whipped cream and garnish with chocolate truffles before serving immediately—or refrigerate for a firmer cut.
Notes
Notes
Additional serving suggestions: pair with a crisp salad, garlic bread, or roasted seasonal vegetables for balance.
For make-ahead, prep components separately and assemble just before heating to preserve texture.
Taste and adjust with acid (lemon/vinegar) and salt right at the end to wake up flavors.