Introduction
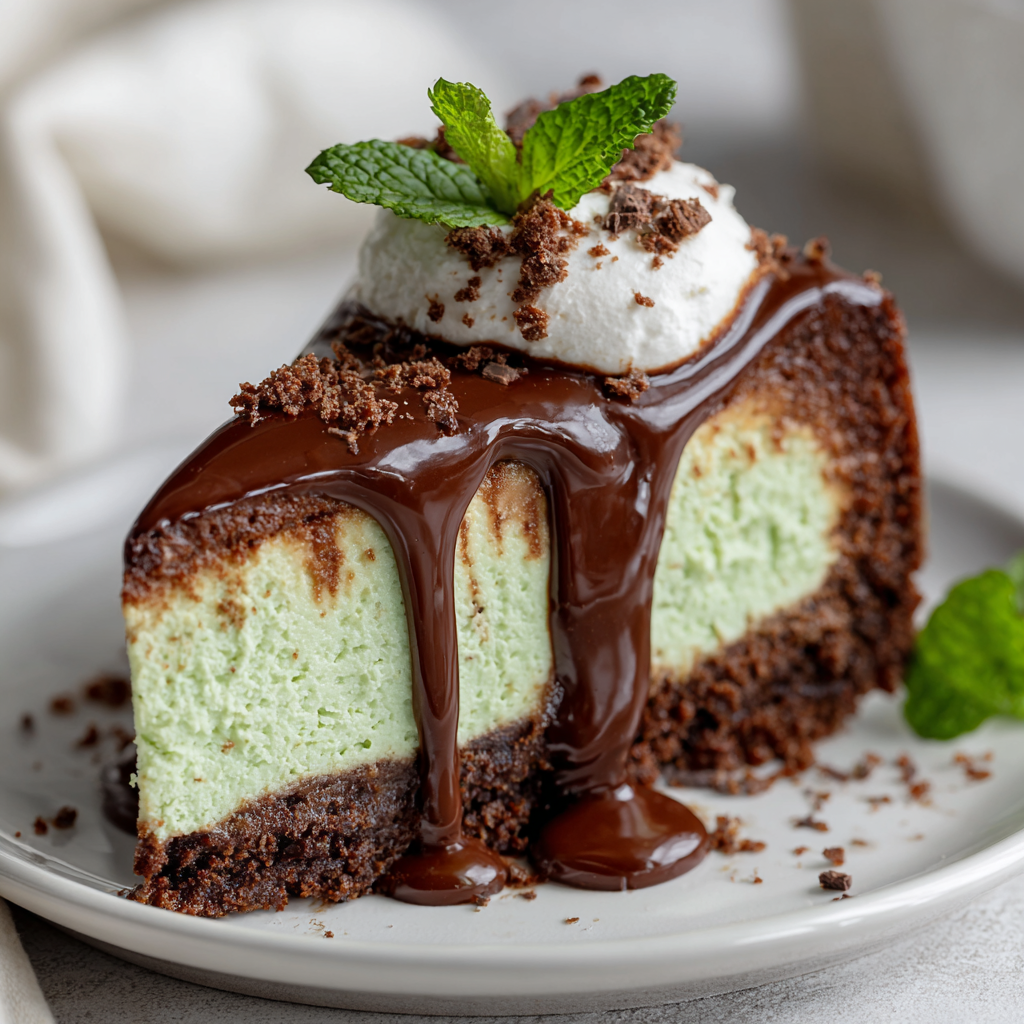
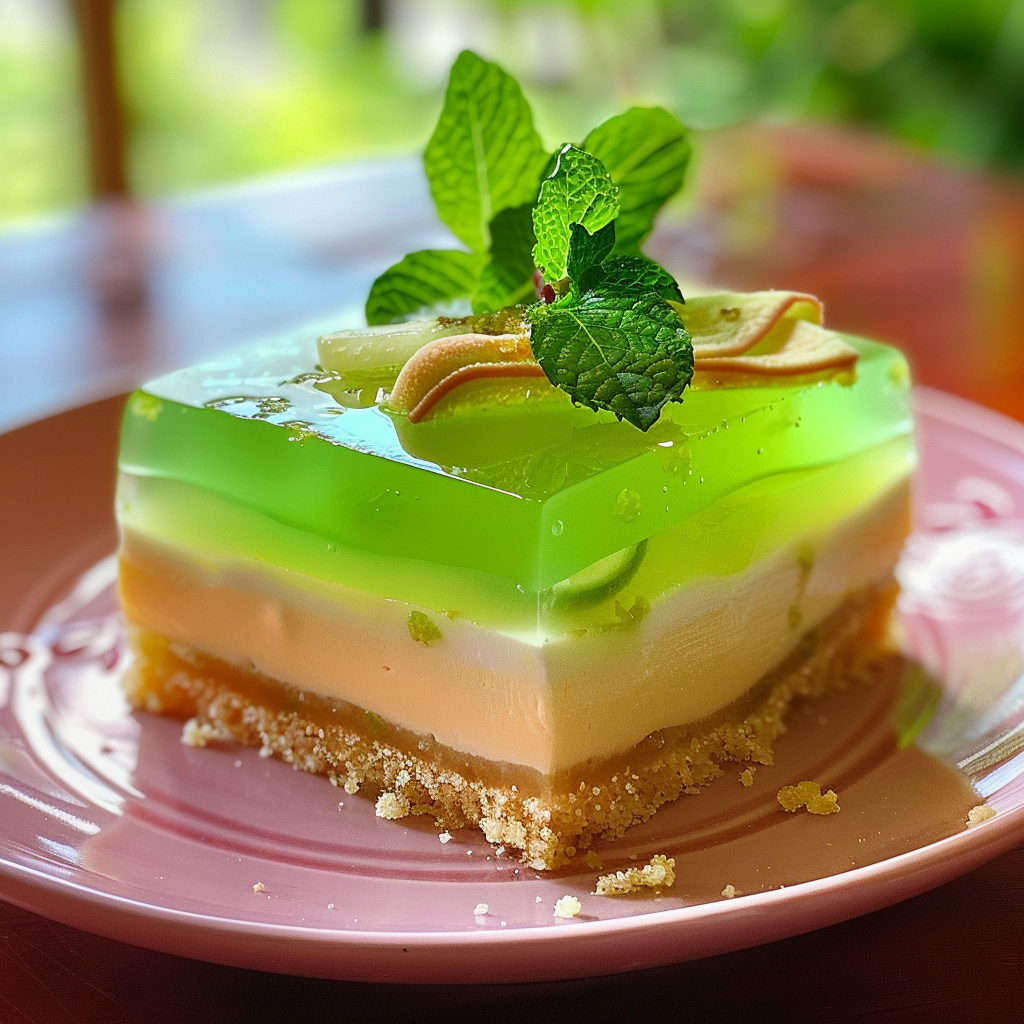
Imagine a vibrant, refreshing cake that captures the essence of sunny afternoons and carefree picnics. The Baking Trend: Retro Pine-Lime Jelly Cake does just that, with its bright green layers and luscious cream cheese frosting. Every bite is a delightful blend of sweet and tangy flavors, reminiscent of childhood treats but elevated for today’s dessert table.
This nostalgic dessert not only looks beautiful but also offers a playful texture. The gelled lime and pineapple layers provide a juicy contrast against the soft, fluffy cake. Whether it’s for a special gathering or just a Sunday treat, this cake will spark joy and awaken fond memories.
Ingredients
- 2 cups all-purpose flour
A staple for structure, it gives the cake its delicate, fluffy texture. - 1 ½ cups granulated sugar
Sweetens the cake and helps achieve that beautiful golden color. - ½ cup unsalted butter
Adds richness and moisture, key to a tender crumb. - ¾ cup milk
Hydrates the batter, promoting a tender texture. - 3 large eggs
Acts as a binder, contributes to the cake’s richness and airy lift. - 1 tablespoon baking powder
Essential for leavening, ensuring your cake rises beautifully. - 1 teaspoon vanilla extract
Enhances flavors, giving the cake a warm, comforting undertone. - 1 package lime-flavored gelatin (3 oz)
Creates the jiggly, fun jelly layer that defines this cake. - 1 can crushed pineapple (20 oz)
Infuses the cake with tropical sweetness and moisture. - 8 oz cream cheese
Provides a tangy, creamy frosting that complements the cake's fruity notes. - 1 cup powdered sugar
Sweetens the frosting while ensuring a smooth, spreadable consistency. - Zest of 1 lime
Adds a fresh burst of citrus flavor, brightening the overall taste.
Directions & Preparation
Step 1: Preheat your oven to 350°F (175°C).
Begin with preheating as this ensures the cake bakes evenly. The warm air helps to activate the baking powder, giving the cake its lovely rise.
Step 2: Grease and flour two 9-inch round cake pans.
This step prevents sticking and helps the cakes release easily. Ensure you dust the pans thoroughly for a perfect finish.
Step 3: In a large mixing bowl, cream the butter and granulated sugar until light and fluffy, about 3-5 minutes.
Watch for a pale, fluffy consistency. This creates tiny air pockets in the batter that make the cake light and tender.
Step 4: Add eggs one at a time, mixing well after each addition. Stir in the vanilla extract.
Incorporating eggs gradually prevents them from curdling. You’ll notice a rich aroma from the vanilla adding depth to the batter.
Step 5: In a separate bowl, whisk together the flour and baking powder. Gradually add this to the creamed mixture, alternating with milk.
This method prevents lumps and creates a smooth batter. The texture should feel soft yet cohesive.
Step 6: Fold in the crushed pineapple with its juices carefully into the batter.
The pineapple adds moisture and sweetness, making the batter slightly thicker yet full of fruity flavor.
Step 7: Divide the batter evenly between the prepared pans, smoothing the tops with a spatula.
Use a spatula to ensure even layers, promoting uniform baking. Visualize two equal mounds preparing to rise.
Step 8: Bake for 25-30 minutes or until a toothpick inserted in the center comes out clean.
This is critical for doneness; as they bake, your kitchen will be filled with a warm, sweet aroma.
Step 9: Once done, cool the cakes in the pans for 10 minutes, then transfer to a wire rack to cool completely.
Cooling prevents soggy layers; you should hear a gentle crackle as they begin to release from the pans.
Step 10: While the cakes cool, prepare the lime gelatin according to package instructions, then refrigerate until slightly thickened, about 30 minutes.
This thickening stage is crucial for the right jelly texture, adding that delightful contrast to the cake.
Step 11: Once cooled, place one cake layer on a serving plate. Spread a thin layer of cream cheese frosting on top, then pour half of the lime gelatin over it.
Layering creates that beautiful visual appeal, and the pudding-like texture of the gelatin adds a refreshing twist.
Step 12: Top with the second cake layer and repeat the frosting and gelatin layers.
Ensuring stability with a thick layer of frosting helps prevent any sliding as you assemble this masterpiece.
Step 13: Chill the entire cake for at least 2 hours to set the gelatin layer firmly.
Chilling melds the flavors and solidifies the layers, creating a delightful slicing experience.
Step 14: Before serving, frost the outside of the cake with the remaining cream cheese frosting, and garnish with lime zest for a pop of color.
This final touch not only looks stunning but the zest releases an enticing citrus fragrance, inviting everyone to dig in.

The Charm of Retro Cakes
There’s something irresistibly nostalgic about retro cakes, especially the colorful, layered ones that remind us of family gatherings. This Pine-Lime Jelly Cake captures that essence with its lively colors and playful textures, enticing diners young and old. It beckons memories of summer picnics and holiday celebrations, making it a perfect centerpiece for any occasion.
Flavors that Dance on the Palate
The combination of sweet pineapple and tangy lime creates a symphony of flavors that are both refreshing and indulgent. This cake thrives on balance; the creamy frosting softens the tartness of the gelatin while the cake itself provides a gentle, tender contrast. Each slice offers not just a taste, but an experience of vibrant summer-filled days.
Making it Your Own
Though the traditional Pine-Lime Jelly Cake shines brightly on its own, it invites creativity. Think about playing with different flavored gelatins or layer in fresh fruits like strawberries or kiwi. You can even experiment with alternative frostings, such as coconut cream or lemon mascarpone, to add an exciting twist to this classic dessert.
FAQs
What if my gelatin layer doesn’t set properly?
If the gelatin appears too runny after chilling, it may need additional time in the refrigerator. For future attempts, ensure you allow it to cool slightly before layering.
Can I use a different flavor gelatin?
Absolutely! Experimenting with flavors like orange or raspberry can create a completely new and delightful cake. Just remember to adjust your other ingredients accordingly.
What type of cake flour is best for this recipe?
For best results, stick with all-purpose flour; it provides the right structure for this cake without being too dense.
Is there a substitute for cream cheese in the frosting?
You can substitute with mascarpone or a dairy-free cream cheese alternative, but note that the flavor profile will change slightly.
How can I enhance the pineapple flavor?
Using fresh pineapple instead of canned can intensify the fruitiness, bringing a vibrant freshness to every layer.
What should I do if I run short on time?
You can prep the cake layers and gelatin in advance; just layer them together before serving for a quick finish.
Conclusion
The Baking Trend: Retro Pine-Lime Jelly Cake is a delightful homage to sweet memories tied together with vibrant flavors and textures. As you slice into its colorful layers, each forkful promises a taste of nostalgia while inviting new traditions.
So why wait? Gather your ingredients and bring a piece of retro charm to your dessert table today. With a few moments of preparation, you can create a cake that brings smiles and sweet memories to family and friends alike.
Recipe Card
Baking Trend: Retro Pine-Lime Jelly Cake
Ingredients
- 2 cups all-purpose flour
- 1 ½ cups granulated sugar
- ½ cup unsalted butter
- ¾ cup milk
- 3 large eggs
- 1 tablespoon baking powder
- 1 teaspoon vanilla extract
- 1 package lime-flavored gelatin 3 oz
- 1 can crushed pineapple 20 oz
- 8 oz cream cheese
- 1 cup powdered sugar
- Zest of 1 lime
Instructions
- Preheat your oven to 350°F (175°C).
- Grease and flour two 9-inch round cake pans.
- In a large mixing bowl, cream the butter and granulated sugar until light and fluffy, about 3-5 minutes.
- Add eggs one at a time, mixing well after each addition. Stir in the vanilla extract.
- In a separate bowl, whisk together the flour and baking powder. Gradually add this to the creamed mixture, alternating with milk.
- Fold in the crushed pineapple with its juices carefully into the batter.
- Divide the batter evenly between the prepared pans, smoothing the tops with a spatula.
- Bake for 25-30 minutes or until a toothpick inserted in the center comes out clean.
- Once done, cool the cakes in the pans for 10 minutes, then transfer to a wire rack to cool completely.
- While the cakes cool, prepare the lime gelatin according to package instructions, then refrigerate until slightly thickened, about 30 minutes.
- Once cooled, place one cake layer on a serving plate. Spread a thin layer of cream cheese frosting on top, then pour half of the lime gelatin over it.
- Top with the second cake layer and repeat the frosting and gelatin layers.
- Chill the entire cake for at least 2 hours to set the gelatin layer firmly.
- Before serving, frost the outside of the cake with the remaining cream cheese frosting, and garnish with lime zest for a pop of color.
Notes
Notes
Additional serving suggestions: pair with a crisp salad, garlic bread, or roasted seasonal vegetables for balance.
For make-ahead, prep components separately and assemble just before heating to preserve texture.
Taste and adjust with acid (lemon/vinegar) and salt right at the end to wake up flavors.