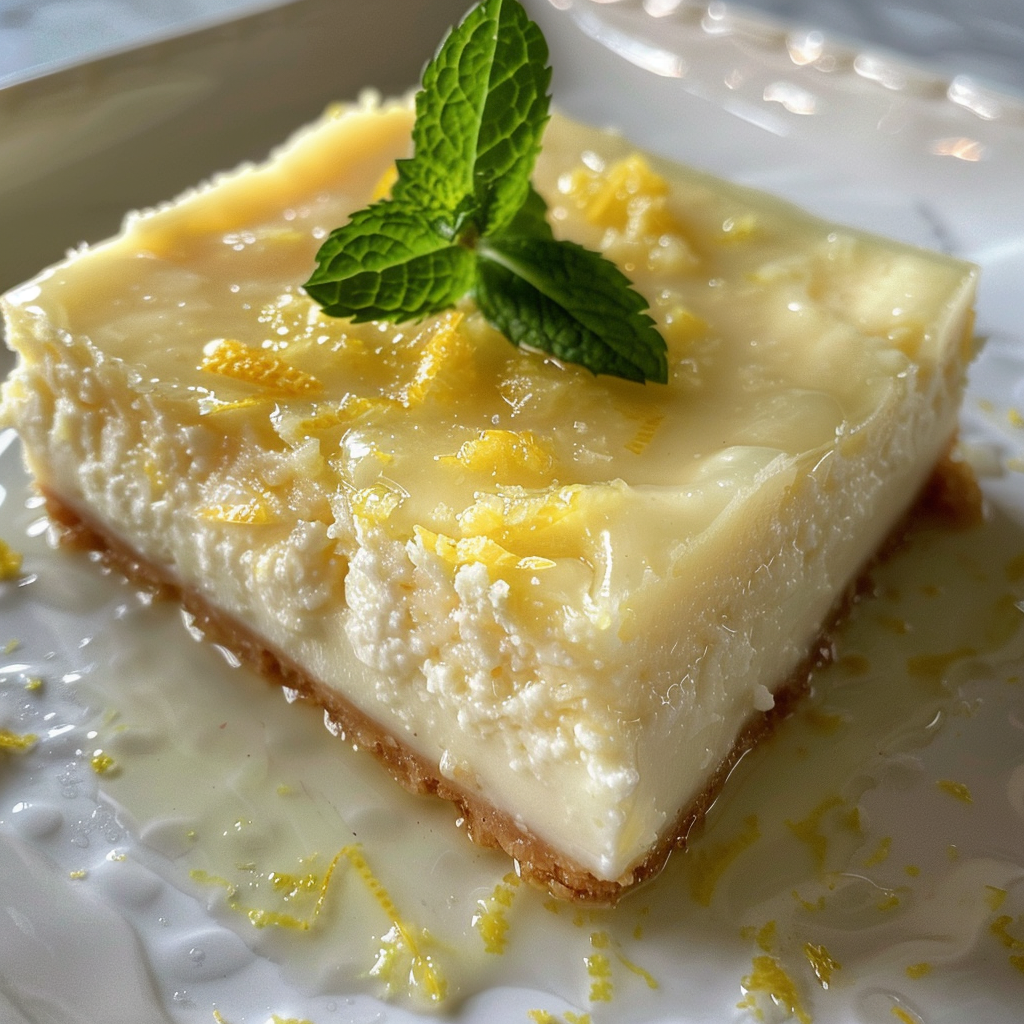
Cool, creamy, and bright with citrus—these no-bake bars come together in 30 minutes flat, no oven required.
📋 In This Article
- Introduction
- Why This Recipe Works (and Why You’ll Love It)
- The Secret to Success: Key Ingredients
- Step-by-Step Instructions: Creating Your Cheesecake Bars
- Common Mistakes to Avoid
- Pro Tips for the Best Bars
- Creative Variations & Topping Ideas
- Storage & Make-Ahead Tips
- Frequently Asked Questions (FAQ)
- Conclusion
Introduction
When the humidity hits and the idea of turning on the oven feels like a personal attack, Easy 30-Minute No-Bake Lemon Ricotta Cheesecake Bars are the answer. I’ve spent years testing cheesecakes, and while I love a dense, baked New York style, there is something undeniably perfect about a chilled, airy bar that doesn’t require a water bath or three hours of baking time.
This recipe came about because I wanted a potluck dessert that wouldn’t melt into a puddle in the August heat but wouldn’t require a culinary degree to execute. By swapping out some of the heavy cream cheese for ricotta, we get a texture that is lighter and fresher—less “stick to the roof of your mouth” and more “clouds of lemon-scented perfection.” It’s the kind of dessert that disappears first at a cookout, leaving you with an empty pan and plenty of time to actually enjoy the party.
Why This Recipe Works (and Why You’ll Love It)
Let’s be honest: most no-bake cheesecakes can be cloyingly sweet or weirdly rubbery. We fixed that. This recipe works because it balances the structural integrity you need for bars with a delicate, mousse-like consistency.
The heavy lifting is done by the combination of sweetened condensed milk and heavy cream. The condensed milk provides sweetness without the grit of granulated sugar, while the whipped cream folds in air. The Ricotta Cheese adds a subtle graininess that works beautifully with lemon—a texture that feels rustic yet refined. And because it’s a Time-Saving wonder, you’re only looking at about 30 minutes of active prep. The fridge does the rest. It is, hands down, the most forgiving Summer Entertaining dessert in my repertoire.
The Secret to Success: Key Ingredients
You don’t need a pantry full of obscure items, but the quality of your ingredients matters here.
The Crust
- Graham Cracker Crumbs: Don’t buy pre-crushed if you can help it; they often lack the oils needed for a cohesive crust. Pulse whole crackers in a food processor for better texture.
- Butter: Melted. This acts as the “glue.”
The Filling
- Whole Milk Ricotta Cheese: This is non-negotiable. Part-skim is too wet and lacks the richness needed to set properly.
- Cream Cheese: Just a bit, for tang and stability. Ensure it is truly at room temperature; cold cream cheese will leave you with lumps no amount of mixing can fix.
- Lemon Juice & Zest: Please, for the love of summer, use fresh. The volatile oils in fresh zest provide the aromatic punch that bottled juice lacks.
- Heavy Cream: Whipped to soft peaks. This is your leavening agent in a no-bake world.
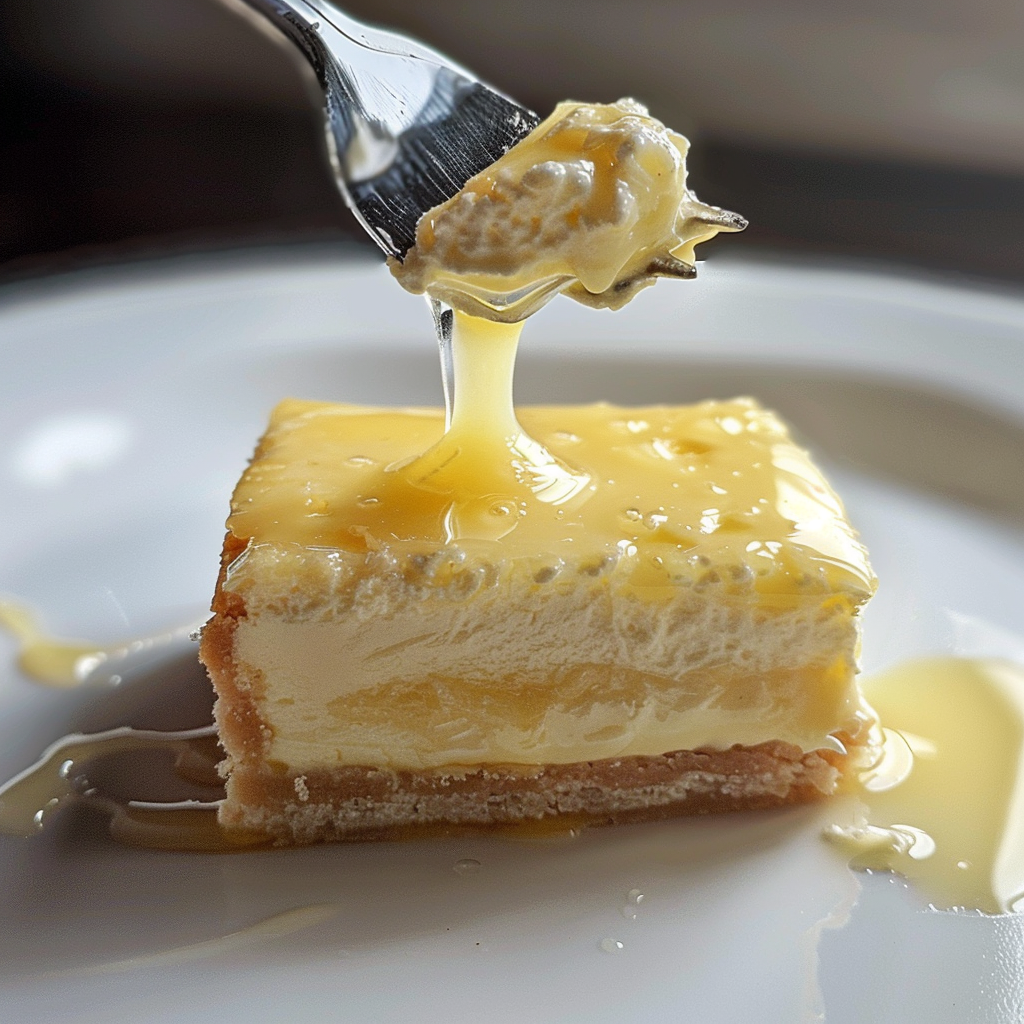
Step-by-Step Instructions: Creating Your Cheesecake Bars
Step 1: The Foundation
- In a medium bowl, combine 1 and 1/2 cups of graham cracker crumbs, 1/4 cup of sugar, and 1/2 cup of melted butter. Mix until the texture resembles wet sand. If you squeeze a handful in your palm, it should hold its shape but crumble easily when tapped.
- Press this mixture firmly into the bottom of a greased 9×9-inch baking dish. I use the bottom of a measuring cup to get it perfectly flat. Chill this crust in the refrigerator for about 15 minutes while you make the filling.
Step 2: The Filling
- In a large mixing bowl, blend 2 cups of ricotta cheese and 8 ounces of room-temperature cream cheese until absolutely smooth. Scrape the bowl down—ricotta likes to hide lumps behind the beaters.
- Gradually add 1/2 cup of sweetened condensed milk, 1/4 cup of lemon juice, and 1 teaspoon of vanilla extract. The acid in the lemon juice will react with the proteins in the dairy, helping the mixture thicken slightly.
- In a separate bowl, whip 1 cup of heavy cream to soft peaks. You want them to just hold their shape—stiff peaks will make the texture chalky.
- Gently fold the whipped cream into the ricotta mixture. Do this in three additions. Fold just until you don’t see white streaks. Overmixing here knocks the air out, leaving you with a dense slab.
Step 3: Assembly
- Pour the ricotta filling over the chilled crust. Spread evenly using an offset spatula.
- Tap the dish firmly on the counter twice to release trapped air bubbles.
- Cover and refrigerate for at least 4 hours, though overnight is better for cleaner slices.
Step 4: Serving
- Remove from the refrigerator 10 minutes before cutting. Use a sharp knife dipped in hot water, wiping it clean between each cut.
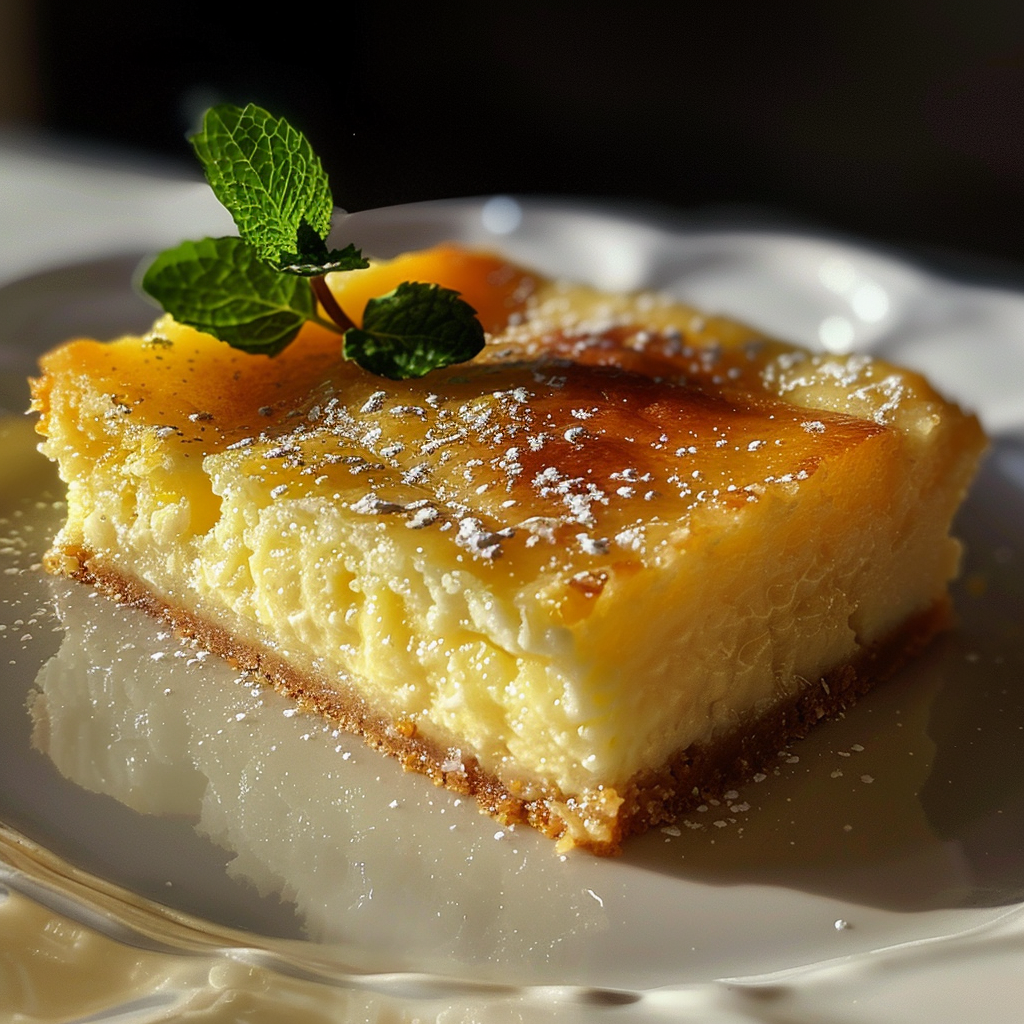
⚠️ Common Mistakes to Avoid
Even simple recipes have pitfalls. Here’s how to dodge them.
Insufficient Chilling: Patience is the hardest ingredient. If you cut into these bars before the fats have solidified completely, they will weep and slump. Give them the full time. If you are short on time, pop them in the freezer for the last hour, but don’t let them freeze solid.
The Runny Filling Disaster: If your filling is soupy, it’s usually a problem with the whipped cream. If you over-whip the cream to stiff, dry peaks, it deflates instantly when folded into the ricotta, releasing its water. Soft peaks—creamy and voluptuous—are what you want.
Warm Ingredients: Using cold cream cheese is the enemy of smoothness. It creates “micro-balls” of dairy that never incorporate. Leave it on the counter for at least an hour. I used to rush this step—don’t. It makes or breaks the texture.
💡 Pro Tips for the Best Bars
Pro Tips for the Best Bars
The Water Bath Trick for Ricotta: Ricotta can sometimes be watery, even if it says “whole milk.” For the creamiest results, drain your ricotta in a fine-mesh sieve over a bowl for 30 minutes before starting. This removes excess whey that could make your crust soggy.
Zest First, Juice Second: Always zest your lemon before juicing it. Trying to zest a squeezed, collapsed lemon is frustrating and yields less oil. Rub the zest into the sugar with your fingers before adding it to the mix; this abrasion releases the essential oils and distributes lemon flavor more evenly than just stirring it in.
The Clean Cut: For bars that look like they came from a bakery, run your knife under hot water and dry it quickly before every single slice. The heat slightly melts the fat at the edge, creating a smooth, glass-like surface.
Creative Variations & Topping Ideas
This recipe is a template. Once you master the base, try these twists:
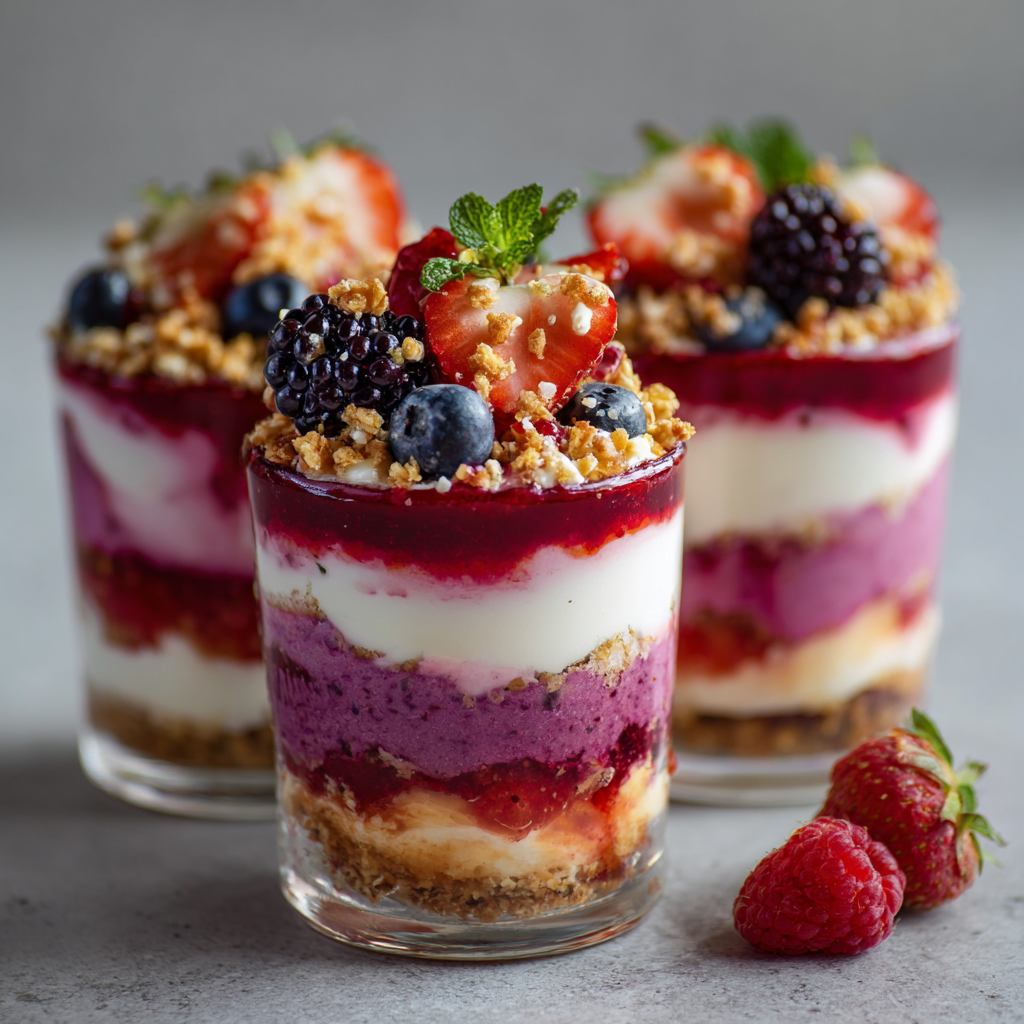
- Berry Compote: Simmer frozen blueberries with a little sugar and lemon juice until thick. Cool completely and swirl it into the filling before chilling for a purple marbled effect.
- Ginger Snap Crust: Swap the graham crackers for ginger snaps. The spicy heat of ginger plays incredibly well with the cool lemon filling.
- Lime Substitution: Swap lemon for lime and add a teaspoon of tequila to the filling for a “Key Lime Pie” vibe.
Storage & Make-Ahead Tips
These bars are actually better the next day, making them the ultimate make-ahead dessert.
- Refrigeration: Store covered in the fridge for up to 5 days. After day three, the crust may start to soften a bit, but the flavor will still be spot on.
- Freezing: Yes, you can freeze them! Slice the bars first, then place them on a baking sheet to freeze individually. Once solid, wrap each bar tightly in plastic and foil. They keep for 3 months. Thaw in the refrigerator overnight.
Frequently Asked Questions (FAQ)
+Why is my filling runny?
A runny filling usually stems from under-whipped cream or excess moisture in the ricotta. Make sure to drain your ricotta and whip your cream to soft peaks. Also, ensure you didn’t skip the chilling time; the fats need time to firm up.
+Can I use low-fat ricotta?
I don’t recommend it. Low-fat ricotta has a higher water content and lacks the fat needed to create a creamy, set texture. The bars will likely be icy or grainy rather than smooth.
+Can I make this dairy-free?
It’s tricky because the structure relies on dairy proteins. You can try a high-quality almond-based ricotta alternative and coconut cream for the whipped topping, but the texture will be different—more like a firm mousse.
+How do I know when the cheesecake is set?
Gently shake the pan. The center should jiggle slightly like Jell-O, but it shouldn’t look liquid or run a wave across the surface. If it’s very wobbly, give it another hour in the fridge.
+Can I use bottled lemon juice?
Fresh is best. Bottled juice often has preservatives that can give the dessert a metallic or “cooked” aftertaste. Fresh lemon juice provides a cleaner, brighter acidity.
+What if I don’t have sweetened condensed milk?
You can use 1/2 cup of powdered sugar instead, but add it gradually. Powdered sugar contains cornstarch, which can alter the texture slightly, making it a bit denser. The condensed milk is preferred for that silky, elastic texture.
Conclusion
These Easy 30-Minute No-Bake Lemon Ricotta Cheesecake Bars are proof that you don’t need a rolling pin or a high-powered mixer to create a showstopping dessert. They are the ultimate summer dessert—bright, cool, and effortlessly elegant. Whether you’re heading to a potluck or just want a treat to keep in the fridge for the week, this recipe delivers every single time. Trust me, once you see how easy it is to get that perfect, creamy slice, you’ll never go back to baking in July again.