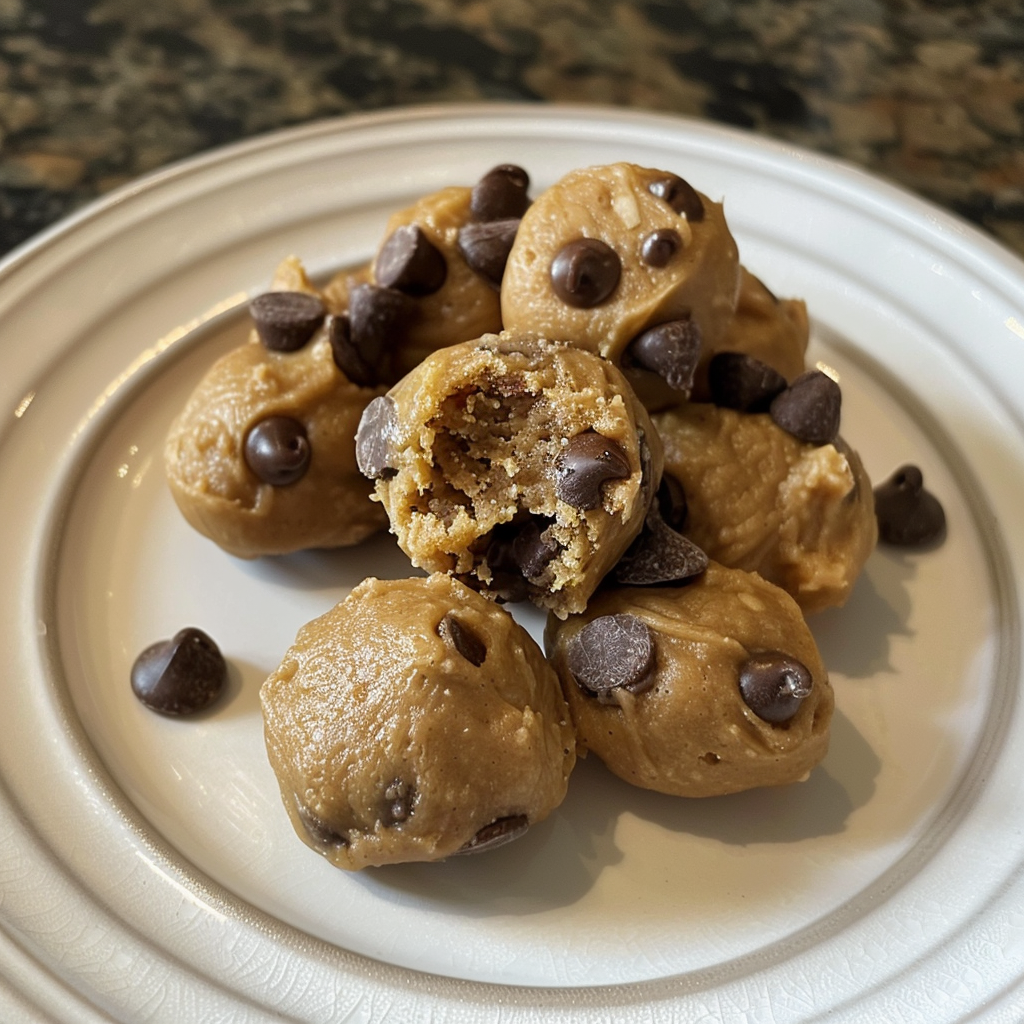
Rich, salty-sweet peanut butter dough studded with chocolate chips—no oven required, just a bowl and a spoon.
📋 In This Article
Introduction
We’ve all been there: standing over the kitchen sink, spoon in hand, scraping the remnants of cookie dough from the bowl, fully aware that raw eggs and flour aren’t exactly “health food.” But the craving? It’s real. That’s where these 5-Ingredient No-Bake Peanut Butter Cookie Dough Bites come in. They capture everything you love about sneaking a bite of dough—the creamy texture, the hit of chocolate, the sheer indulgence—without the risk or the oven wait time.
This isn’t just a “healthy” substitute that leaves you wanting; it’s a legitimate treat that happens to be packed with protein and wholesome fats. By swapping traditional flour for oat flour and using natural sweeteners, we sidestep the safety concerns of raw flour while adding a nutty, wholesome depth. Whether you need a post-workout refuel or a 3 p.m. desk snack, these bites deliver.
Why This Recipe Works
The genius of this recipe lies in its simplicity, but the science is what makes it truly satisfying.
First, we use oat flour instead of wheat flour. Not only does this keep the recipe gluten-free (provided you use certified GF oats), but it also eliminates the “raw flour” taste and texture. Oat flour is essentially ground oats, so it brings a mild, toasty flavor that complements the peanuts perfectly.
Second, the binding agent. We rely on the natural oils in the peanut butter combined with pure maple syrup. Maple syrup is an invert sugar, meaning it doesn’t crystallize like granulated sugar. This keeps the dough soft and malleable rather than gritty, creating that perfect “melt-in-your-mouth” feel.
Finally, there’s the chilling factor. Because there’s no baking, the structural integrity relies on fat solidification. Peanut butter is liquid at room temperature but firms up beautifully in the fridge. A 30-minute chill allows the oils to set, transforming a sticky mixture into firm, poppable bites.
The 5 Ingredients You Need
The beauty of this recipe is its short ingredient list. Quality matters here because there’s nowhere to hide.
- 1 cup natural creamy peanut butter: You want peanut butter that is just peanuts and salt. Avoid brands with added sugars or hydrogenated oils. The oil separation in natural PB is crucial for binding the dough.
- 1/2 cup oat flour: If you don’t have oat flour, you can make it by pulsing rolled oats in a food processor until fine. It should look like powder.
- 1/4 cup pure maple syrup: Honey works too, but maple syrup offers a more neutral sweetness that lets the peanut flavor shine.
- 1 tsp pure vanilla extract: Aromatic complexity. It tricks the brain into perceiving more sweetness than is actually there.
- 1/2 cup dark chocolate chips: Use mini chips if you have them; they distribute better in small bites. Dark chocolate cuts through the richness of the peanut butter.
How to Make Cookie Dough Bites
This process is fast. You’re about 10 minutes away from snack time.
- Combine the Base: In a medium mixing bowl, add the natural creamy peanut butter, oat flour, pure maple syrup, and pure vanilla extract. Using a wooden spoon or stiff spatula, mix until fully combined. The mixture will start to come together into a stiff dough. If it feels too sticky, add another tablespoon of oat flour.
- Fold in the Chocolate: Add the dark chocolate chips to the bowl. Fold them in gently so they are evenly distributed throughout the dough.
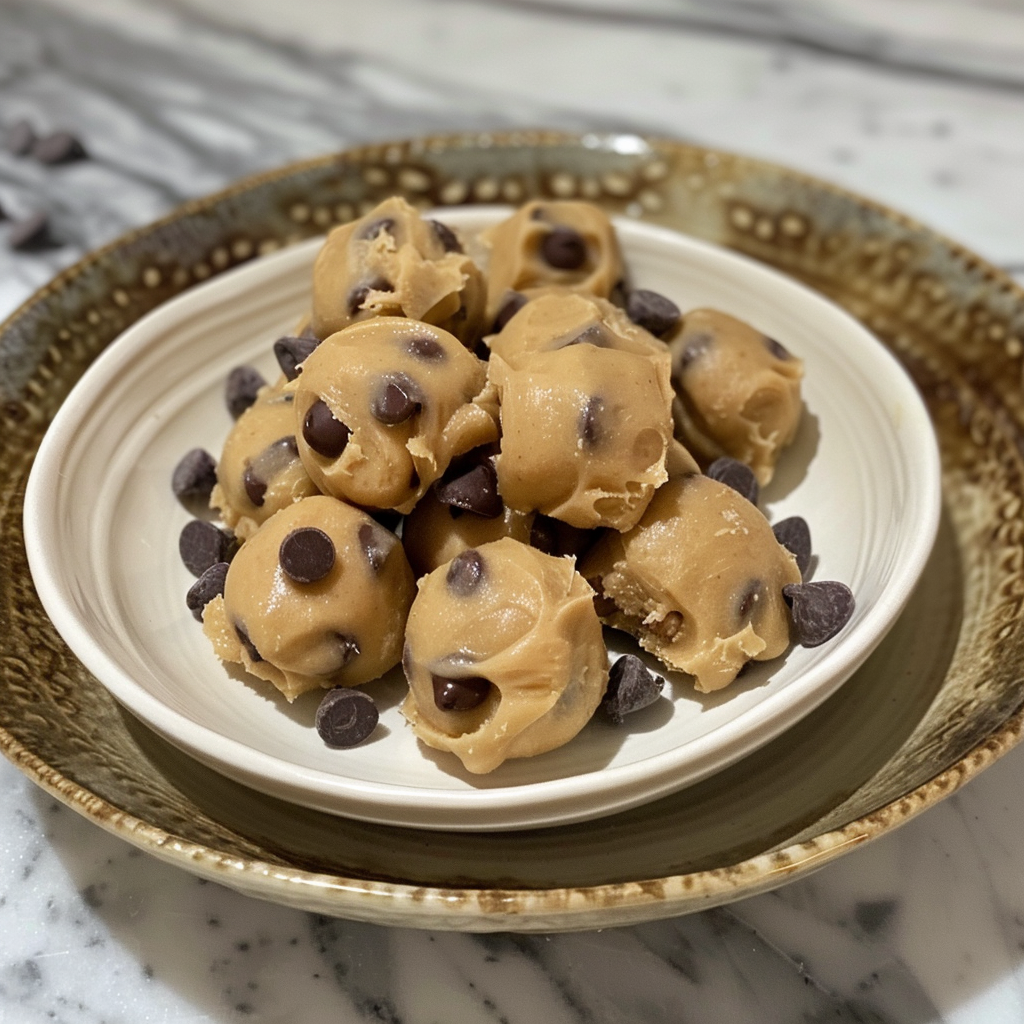
- Roll: Using your hands (lightly greased with a bit of coconut oil if the dough sticks), pinch off about a tablespoon of dough and roll it into a ball. Repeat until all the dough is used. You should get roughly 16 to 20 bites.
- Chill: Place the balls on a parchment-lined plate or baking sheet. Slide them into the refrigerator. Chill for at least 30 minutes.
- Serve: Eat them cold. They soften quickly at room temperature.
💡 Pro Tips for Perfect Bites
The Peanut Butter Consistency: Natural peanut butters vary wildly in oil content. If your jar has a layer of oil at the top, stir it in thoroughly before measuring. If your dough ends up too wet, don’t panic—just add more oat flour, one tablespoon at a time, until it feels like Play-Doh.
Sweetness Adjustments: Taste your dough before adding the chocolate chips. If your peanut butter was unsalted and the dough tastes flat, add a pinch of sea salt. It wakes up the flavors instantly.
Chilling is Non-Negotiable: I used to rush this step—don’t. If you try to eat them right away, they will feel greasy and fall apart. The chill time allows the oat flour to hydrate and the fats to solidify, resulting in a dense, fudge-like texture.
Rolling Technique: Lightly wet your hands or grease them with oil before rolling. The dough can be sticky, and this little trick saves you from constantly washing your hands.
⚠️ Common Mistakes to Avoid
Even simple recipes have pitfalls. Here’s how to avoid them.
Using “No-Stir” Peanut Butter: Avoid peanut butters labeled “no-stir” or “spreadable.” These often contain added oils and sugars that change the texture of the dough, making it waxy rather than creamy.
Skipping the Chill: It’s tempting to eat the dough straight from the bowl. But without the chilling step, the bites won’t hold their shape. The structural integrity relies on the fat in the peanut butter solidifying.
Over-Mixing: Once the flour is incorporated, stop mixing. Over-working the dough can cause the oils to separate, leading to a greasy final product. Mix just until the white streaks of flour disappear.
Measuring by Volume: For the best results, measure your oat flour by spooning it into the measuring cup and leveling it off. Packing it down can result in dry, crumbly bites.
Variations and Substitutions
This recipe is a canvas. Here’s how to tweak it for your dietary needs or cravings.
Vegan: Ensure you use dairy-free chocolate chips. The rest of the ingredients are naturally plant-based.
Nut-Free: Swap the peanut butter for sunflower seed butter (SunButter). Note that sunflower seeds can turn green when baked with baking soda, but since this is no-bake, you’re safe! The color will remain normal.
Protein Boost: Add a scoop of vanilla or chocolate protein powder. If you do this, you may need to add another tablespoon of maple syrup or a splash of almond milk to keep the dough moist.
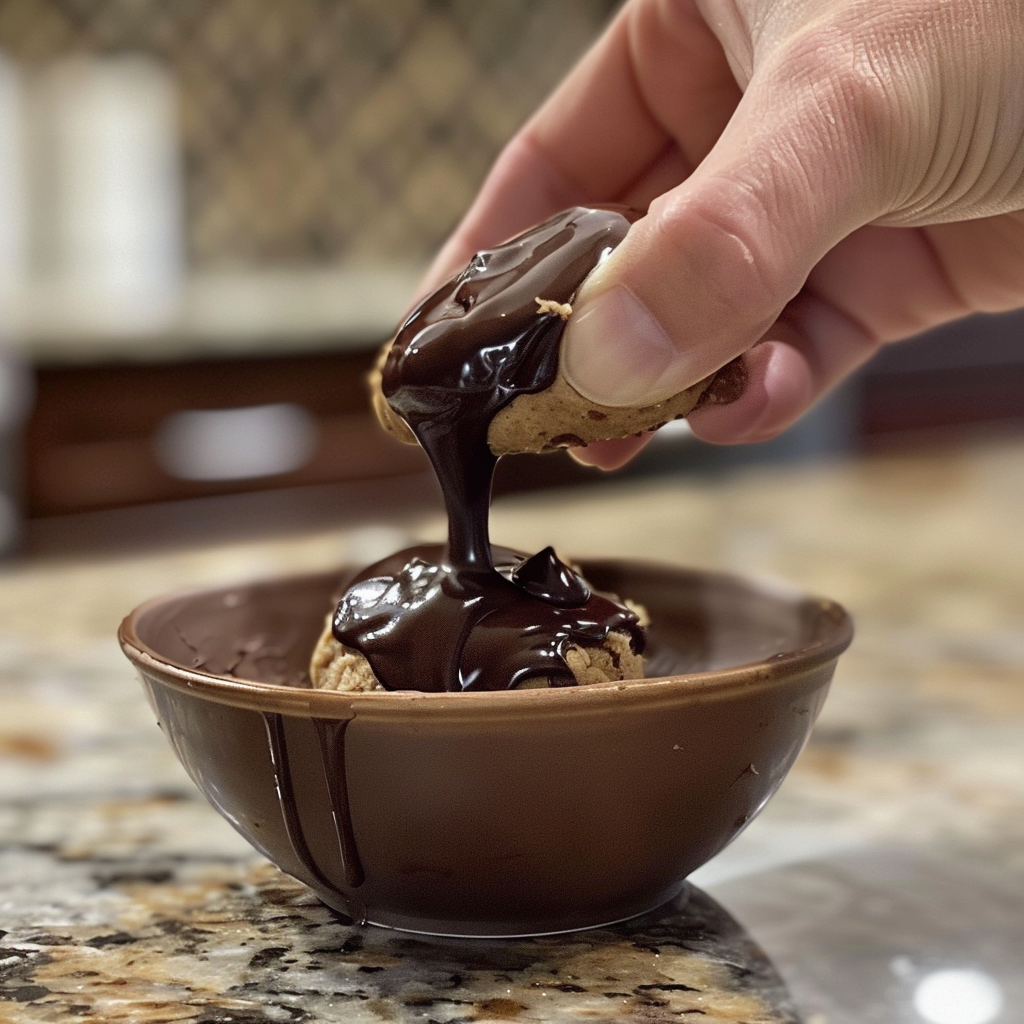
Texture Variations: Roll the finished bites in crushed pretzels for a salty crunch, or dip them in melted chocolate for a truffle-like shell.
Storage and Shelf Life
These bites are built for convenience, and that includes storage.
Refrigerator: Store in an airtight container with parchment paper between layers to prevent sticking. They will keep for up to one week in the fridge. They taste best when served cold, straight from the container.
Freezer: For long-term storage, freeze them. Place the bites in a single layer on a baking sheet until frozen solid, then transfer to a freezer-safe bag. They last up to three months. Thaw for 5 minutes at room temperature before eating, or enjoy them frozen for a crunchy, candy-bar-like texture.
Frequently Asked Questions (FAQ)
+Is raw oat flour safe to eat?
Yes. Unlike all-purpose wheat flour, which can contain bacteria like E. coli, oat flour is safe to consume raw. However, if you have gluten sensitivities, ensure your oats are labeled “certified gluten-free,” as cross-contamination can occur during processing.
+Why is my cookie dough runny?
This usually happens because the peanut butter was too oily or the mixture was too warm. If your kitchen is hot, the oils in the peanut butter separate. Stick the bowl in the fridge for 10 minutes to firm up the fats, then try rolling again. If it’s still runny, mix in more oat flour.
+Can I use almond flour instead of oat flour?
You can, but the texture changes. Almond flour is higher in fat and doesn’t absorb moisture as well as oat flour. The bites will be softer and slightly greasier. If using almond flour, start with 1/4 cup and add more as needed.
+Can I use honey instead of maple syrup?
Absolutely. Honey works well as a substitute, though it has a distinct floral flavor that will come through in the final taste. Agave nectar is another neutral option that mimics maple syrup’s sweetness profile.
+How long do these last in the freezer?
Properly stored, they stay fresh for up to three months. Just make sure they are fully frozen before bagging them so they don’t stick together into a giant clump.
Peanut Butter Cookie Dough Balls Recipe
Ingredients
- 1 cup natural creamy peanut butter
- 1/6 cup pure maple syrup
- 1/4 cup oat flour
- 1 tsp pure vanilla extract
- 1 cup dark chocolate chips
Instructions
- To a large bowl add the peanut butter, maple syrup, oat flour, and vanilla extract. Mix until fully combined, and then add the chocolate chips and mix.
- Using a small cookie scoop, scoop the dough and roll it into rough small balls, then place it onto a parchment paper-lined cookie sheet.
- Place them in the freezer for 5-10 minutes, and then remove. The dough will be less sticky then, and you can roll them into smooth balls if you want uniform-looking delicious snacks.
- Add to an airtight container or wrap in plastic wrap to keep it airtight. Keep stored in the freezer or the fridge and enjoy chocolate chip cookie dough balls whenever you want the perfect treat! They pair perfectly with my green cookie dough smoothie!
Notes
- For a smoother texture, let the peanut butter come to room temperature before mixing; this helps it blend effortlessly with the other ingredients.
- If you find the dough too sticky to handle, freeze it for an additional 5 minutes, which will make it easier to roll into uniform balls.
- Swap the oat flour with almond flour or coconut flour for a gluten-free option; just keep in mind that the texture may vary slightly.
- Store your cookie dough balls in an airtight container in the freezer for up to 3 months, making them a convenient snack whenever a craving hits.
- For a fun twist, try adding a pinch of sea salt or a sprinkle of cinnamon to the dough for an extra flavor boost.